USA & Canada: Shipping costs depend on item weight and location
 Great customer care
 BLOG
BLOG B2B Wholesale |


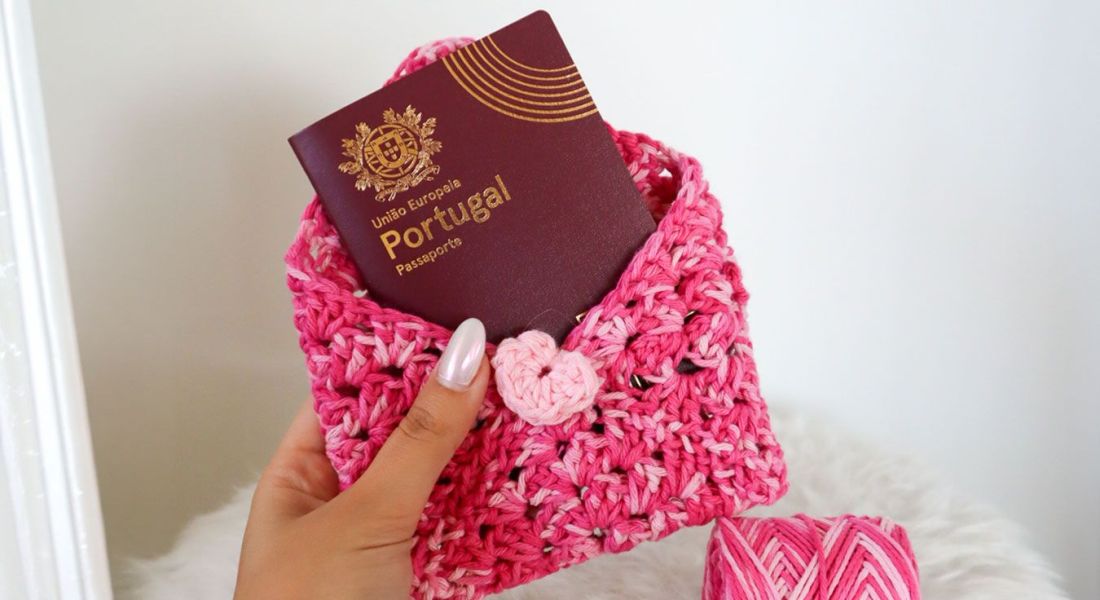
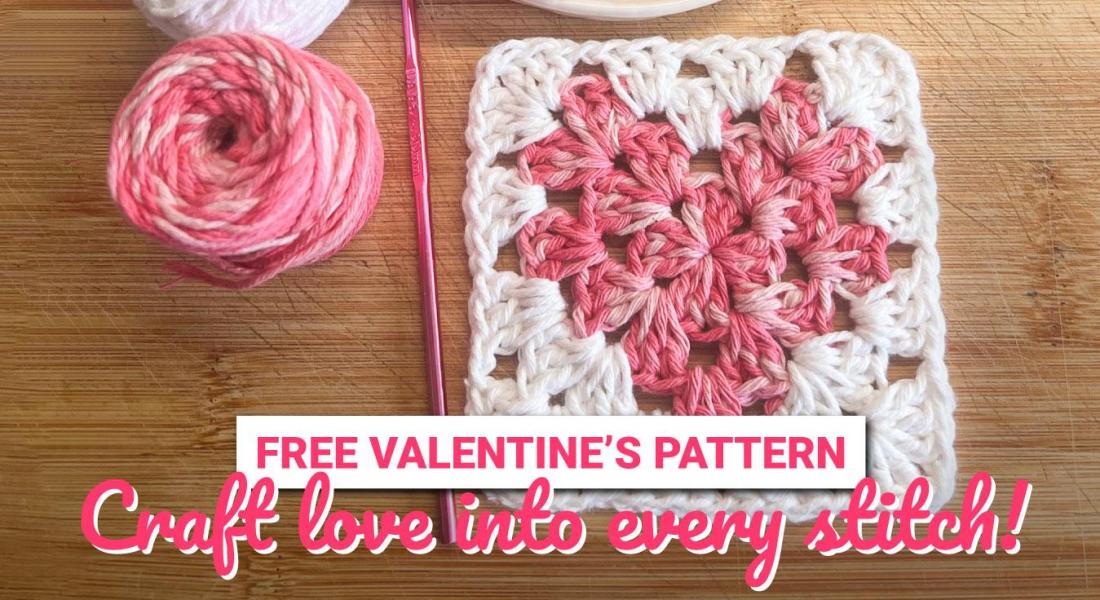
Happy Granny Square Day! There's no better time to celebrate one of crochet's most iconic motifs than by making something beautiful and practical. To mark the occasion, we're sharing a free granny square crochet pattern for a simple and stylish granny square pouch.
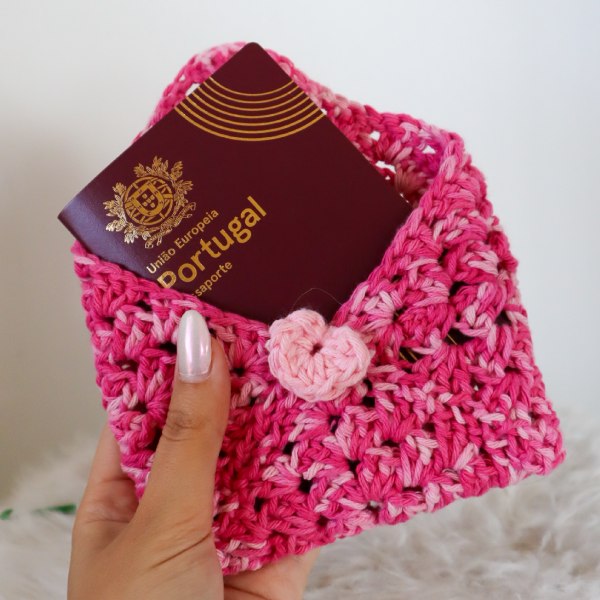
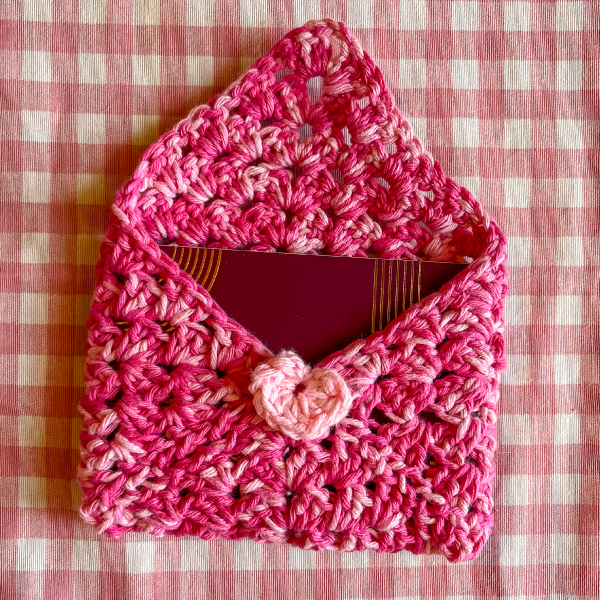
We've turned ours into a passport pouch, but that's just the beginning. By adding more or fewer rounds to your granny square, you can easily adjust the size to create a pouch for sunglasses, makeup, earbuds, stationery, small notions, or any other everyday essentials. It's a versatile project you'll want to make again and again.
A perfect beginner crochet project
This is a great project for beginners. The granny square is worked in one continuous colour, so there are no colour changes and fewer ends to weave in. Using only basic crochet stitches, you'll create a classic granny square that folds into a practical pouch in no time.
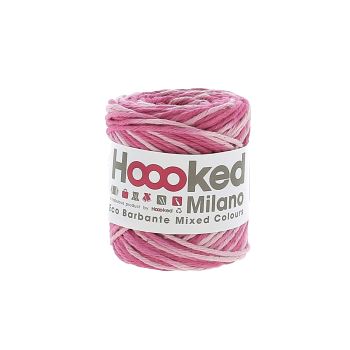
Made with Eco Barbante Mixed in Roseberry Crunch
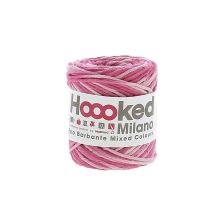
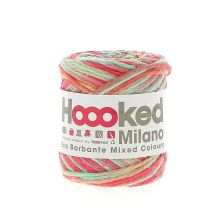
For this project, we used Eco Barbante Mixed in the colour Roseberry Crunch. Made from recycled cotton textile fibres, Eco Barbante Mixed is soft, durable, and ideal for accessories that need a little structure. Roseberry Crunch features beautiful pink tones with subtle colour variations, adding depth and texture to your project without changing yarns. It's an easy way to create a colourful look with just one ball of yarn.

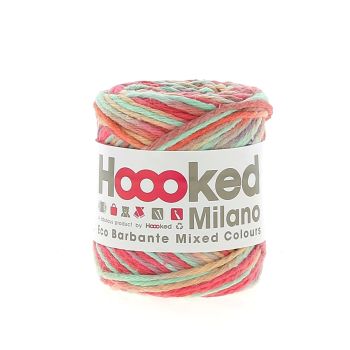
Free Granny Square Pouch Pattern
Materials:
- 1 bobbin of Eco Barbante Mixed (50gr) in colour Roseberry Crunch
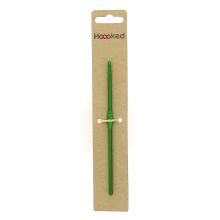
- 4 mm crochet hook
- Scissors
- Optional: Leftover yarn for details, in this case we used Eco Barbante in colour Blossom
The Pattern:
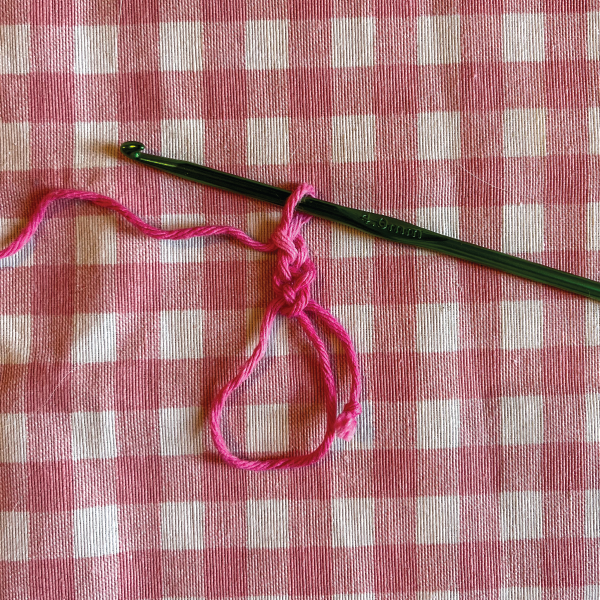
R1: Make a magic ring. Ch 3 (counts as 1 dc), 2 dc into the ring, [ch 2, 3 dc] x3. Ch 2 and join with a sl st to the top of the beginning ch 3. Pull the magic ring closed.
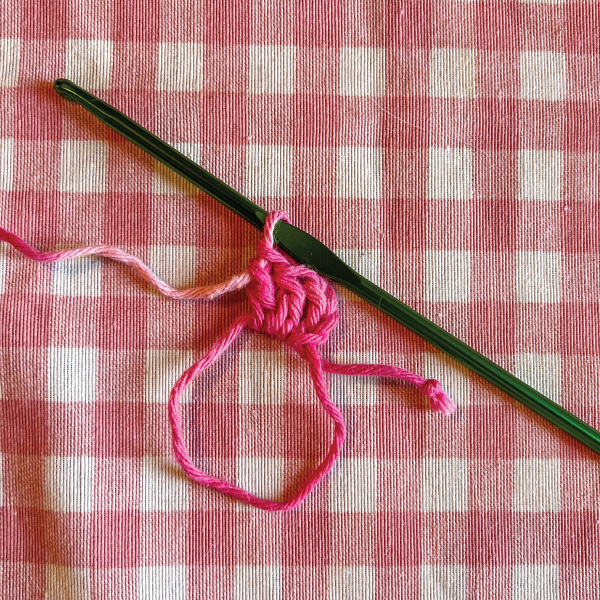
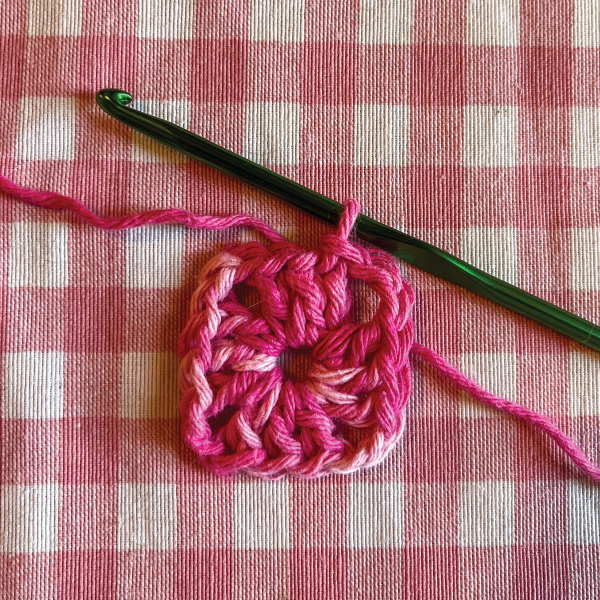
R2: Ch 3 (counts as 1 dc, 2 dc, 3 dc in the next corner space, 2 ch, 3 dc, [3 dc, ch 2, 3 tr in the next corner space] x2. Make 3 dc in the first corner space (where we made the first 3 ch of R2). Join with a sl st to the top of the beginning ch 3.
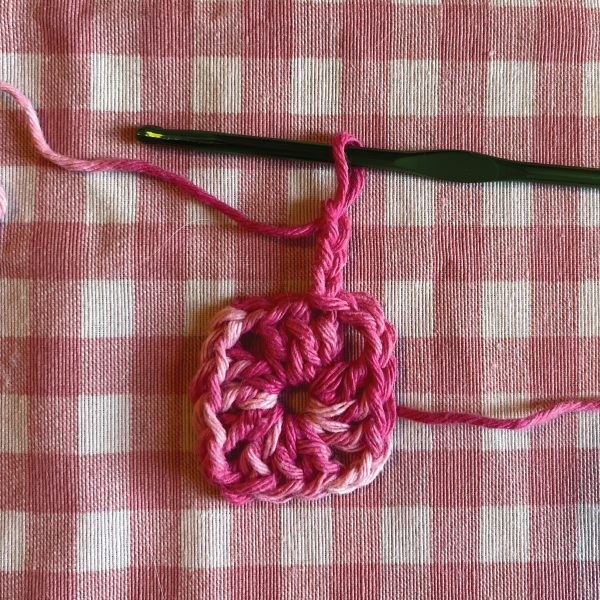
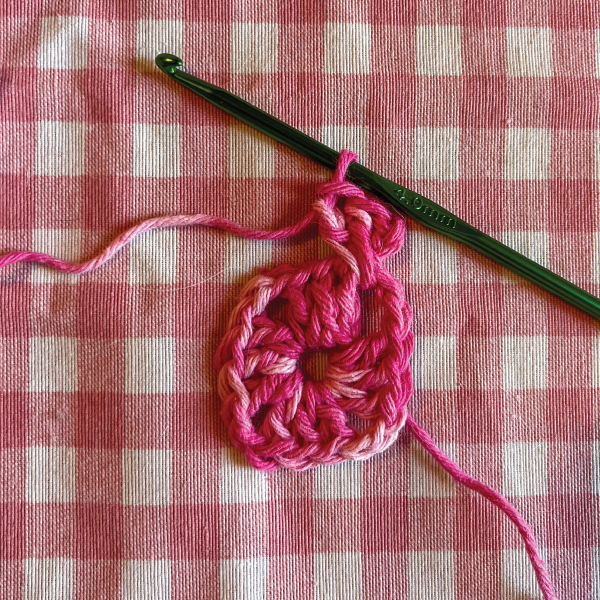
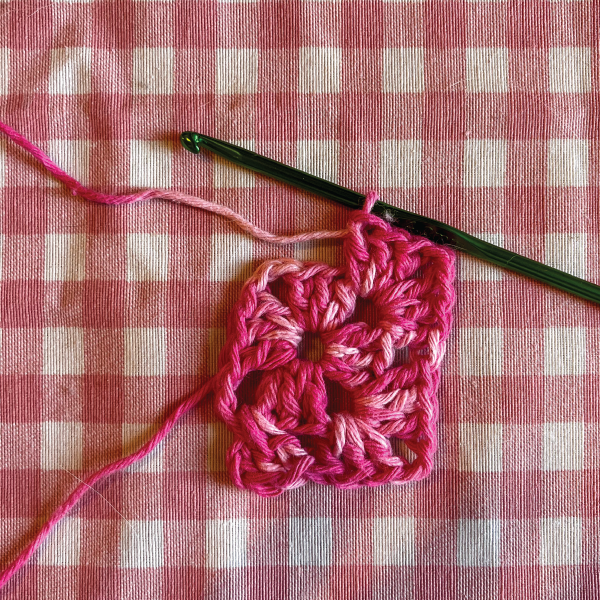
R3: Ch 3 (counts as 1 dc), 2 dc, 3 dc in space between clusters, 3 dc, ch 2, 3 dc in the next corner space, [3 dc in the next space between clusters, 3 dc, ch 2, 3 dc in the next corner space] x2. 3 dc in the last space between clusters, 3 dc in the first corner space (where we made the first 3 ch of R3) Join with a sl st to the top of the beginning ch 3.
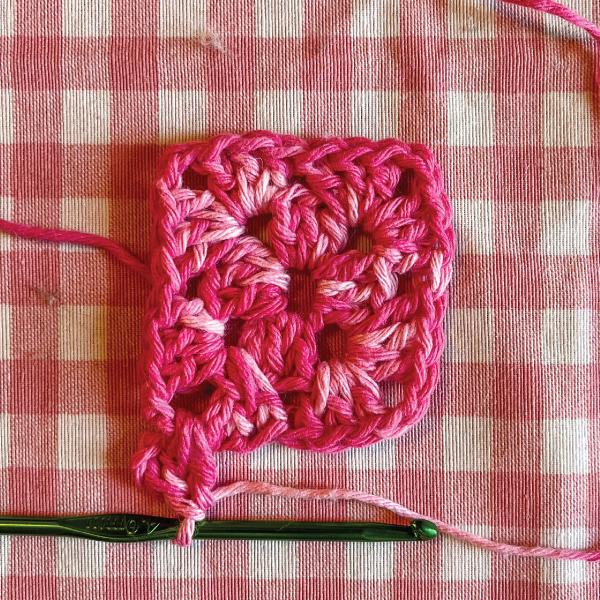
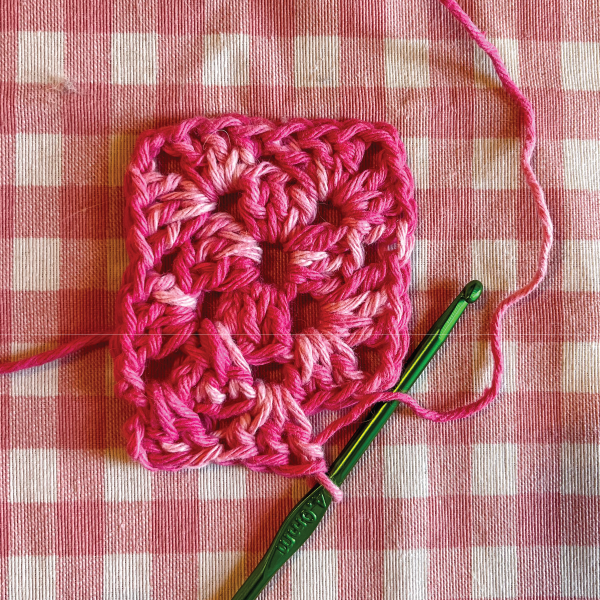
R4-R8: Repeat R3, working 1 additional 3 dc cluster on each side in every round.
The construction is simple: every corner space always gets 3 dc, ch 2, 3 dc, creating the increases that keep the square growing. In every space between the granny clusters, simply work 3 dc. Repeat this sequence for each new round, adding one extra granny cluster along each side every time the square grows.
When you've reached your desired size, finish the round by joining with a sl st to the top of the beginning ch 3.
R4-R8: Repeat R3, working 1 additional 3 dc cluster on each side in every round.
The construction is simple: every corner space always gets 3 dc, ch 2, 3 dc, creating the increases that keep the square growing. In every space between the granny clusters, simply work 3 dc. Repeat this sequence for each new round, adding one extra granny cluster along each side every time the square grows.
When you've reached your desired size, finish the round by joining with a sl st to the top of the beginning ch 3.
In this example, we crocheted the granny square up to R8. Feel free to continue adding more rounds if you'd like a larger pouch, or stop earlier for a smaller one.
Assembly
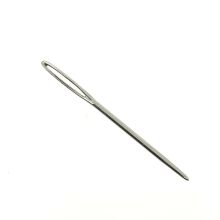
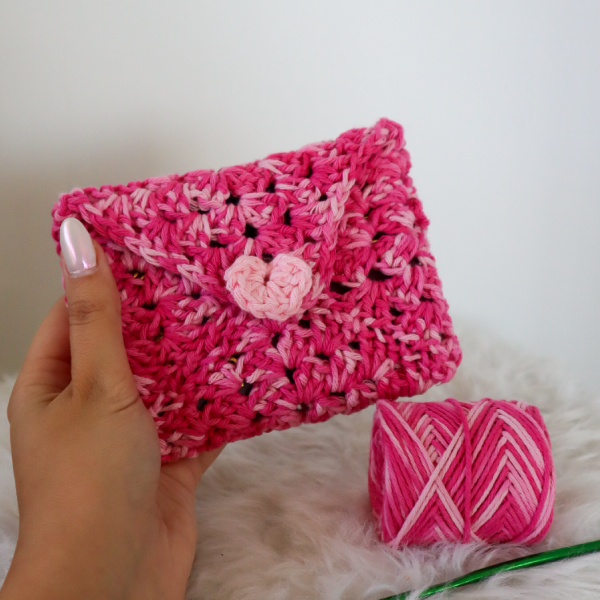
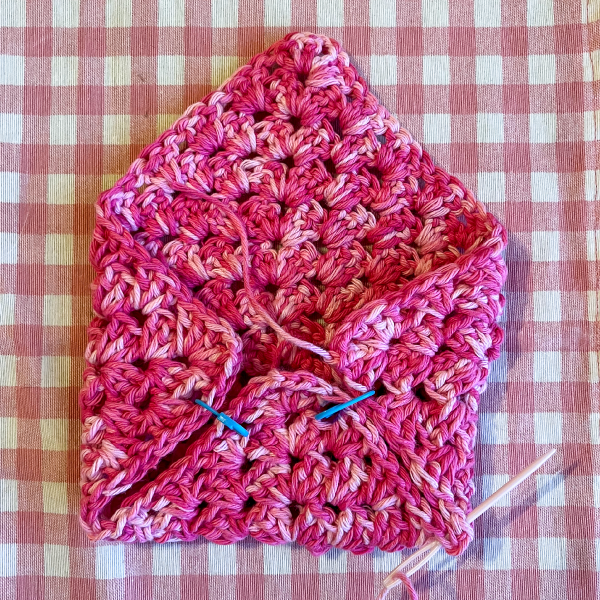
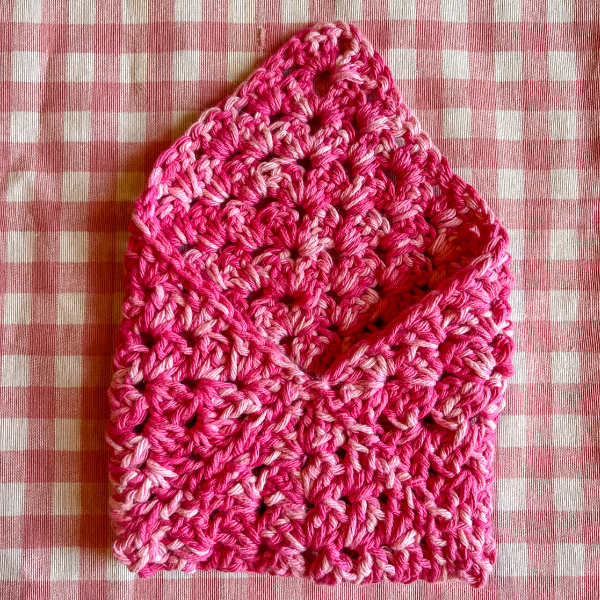
Once your granny square is complete, fold it into shape by bringing three corners towards the centre, creating the pouch as shown in the photo. Using the yarn tail (or a matching length of yarn), seam the two side edges together with a tapestry needle, weaving through the stitches to create neat, secure seams. Weave in any remaining ends.
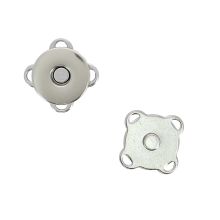
For the closure, we crocheted a small heart and sewed it onto the front of the pouch to use as a button. Feel free to personalize your pouch with your favourite closure, such as a wooden button, coconut button, snap fastener, or even a decorative toggle.
Your granny square pouch is now ready to use! Fill it with your passport, travel documents, crochet notions, or any other small essentials.
Show us your pouch!
Whether you make a crochet passport holder, a small project bag, or a pouch for your everyday essentials, we'd love to see your version.
Share your project on social media and tag @hoooked.zpagetti so we can celebrate your creations with you.
Happy Granny Square Day and happy crocheting!