USA & Canada: Shipping costs depend on item weight and location
 Great customer care
 BLOG
BLOG B2B Wholesale |


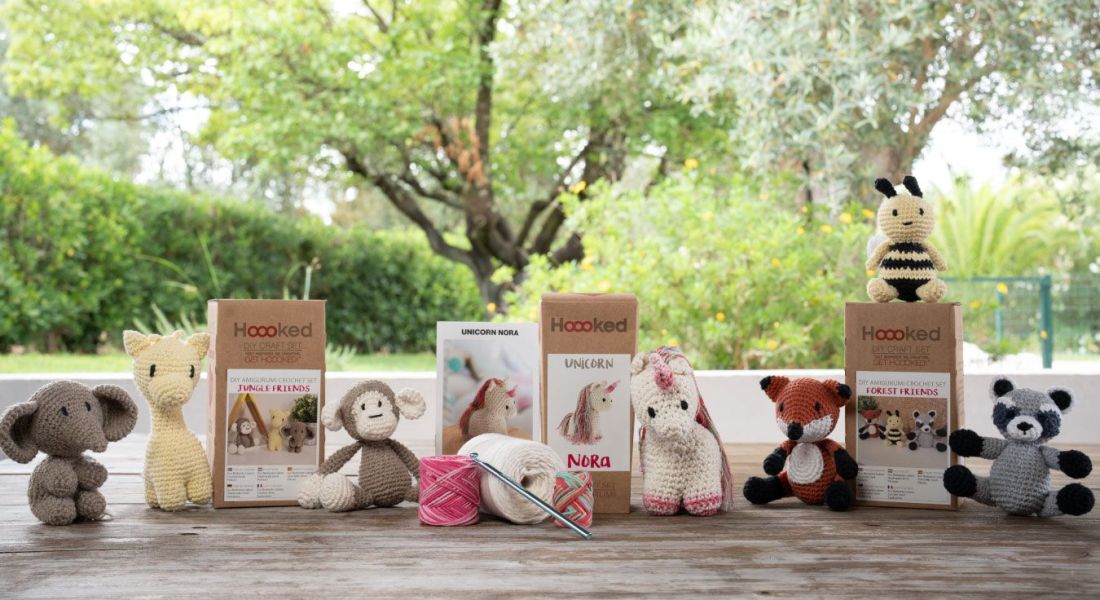
Want to know how to crochet amigurumi that look neat, even and as cute as the ones you see online? We've got you!
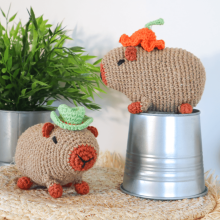
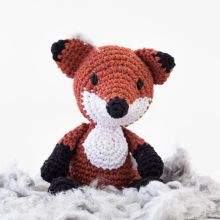
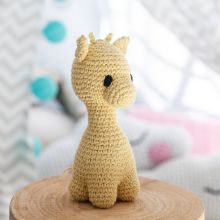
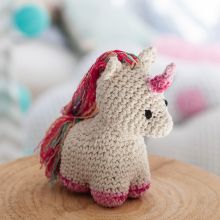
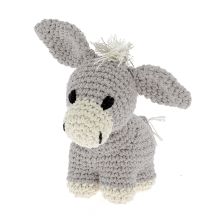
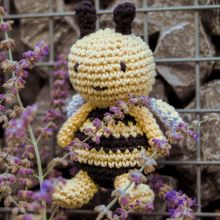
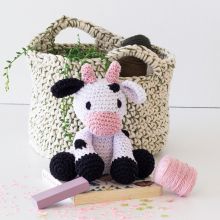
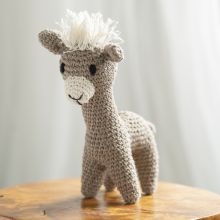
Amigurumi are small crochet dolls, animals and characters made by working yarn into simple shapes. They may look easy to make, but getting that smooth, polished finish takes a little practice.
That's where these amigurumi tips come in. From choosing the right yarn and keeping your stitches tight to working in spirals and making invisible decreases, a few simple tricks can make a big difference to your finished crochet amigurumi.
Whether you're learning how to crochet an amigurumi for the first time, looking for tips for your next amigurumi project, or already have a whole collection of tiny crochet creatures, these tips will help you create amigurumi with cleaner stitches, and smoother shapes.
So, grab your hook and let's get started!
First things first: avoid gaps in your amigurumi
Before we get into the five tips, let's talk about one of the most common amigurumi problems: gaps.
Amigurumi are usually crocheted tightly, so you get a firm fabric that keeps the stuffing where it belongs. If your stitches are too loose, little holes can appear and your filling may start making an unwanted appearance.
To avoid this:
- Keep your tension even
- Try using a smaller crochet hook than the one recommended for your yarn
- Check the crochet terms used in your pattern before you start - Crochet terminology can vary between countries, and UK and US terms aren't always the same. A quick check at the beginning can save you from a lot of confusion late
- Don't overstuff your amigurumi, as too much filling can stretch the stitches.
The goal is a firm, even fabric without having to fight your crochet hook every step of the way.
1. Choose the right yarn
The yarn you choose can make a big difference to your amigurumi.
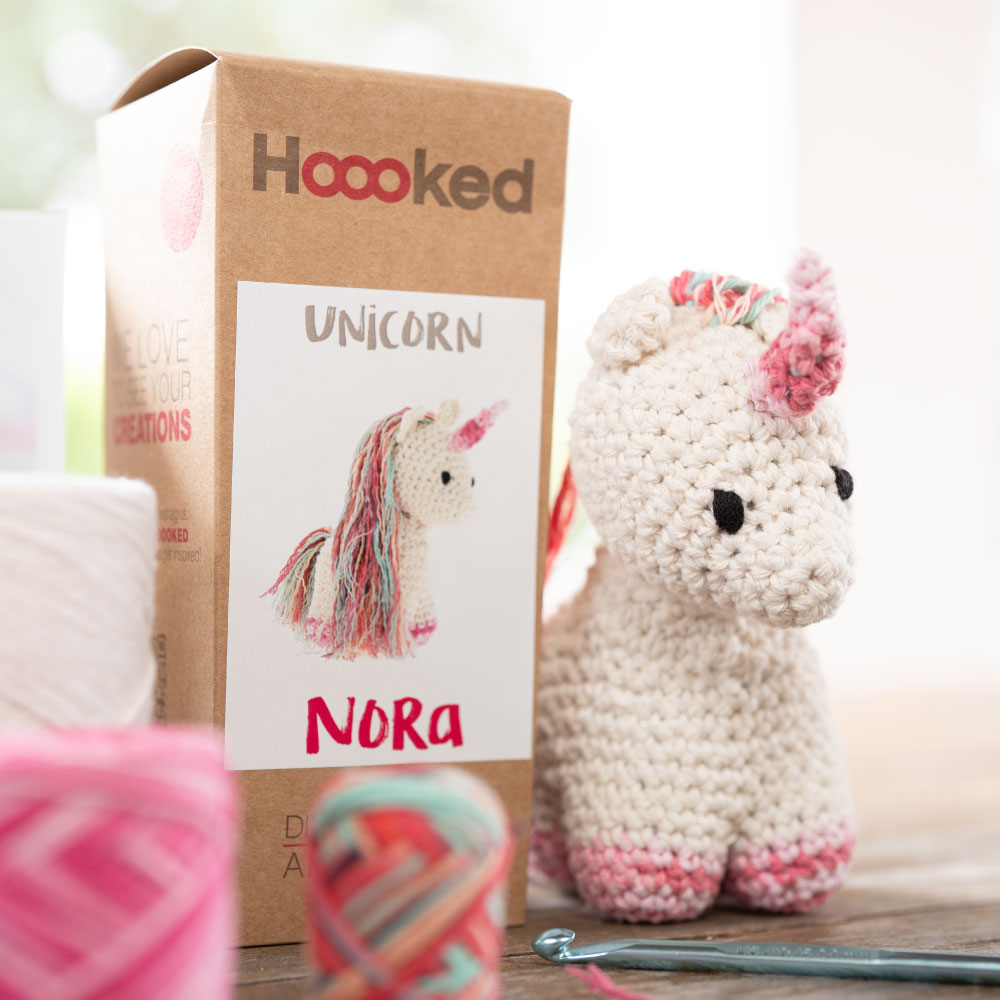
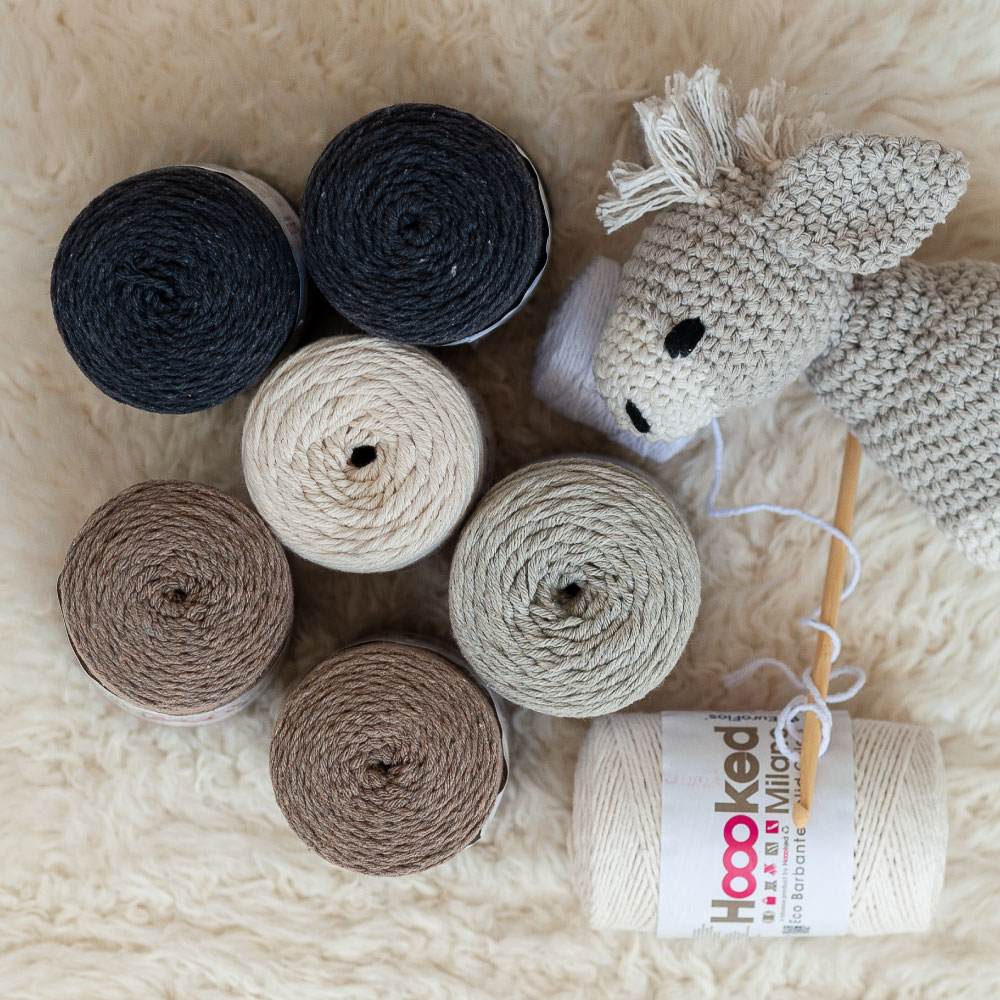
Look for a yarn that is easy to crochet with, holds its shape and gives you the look you want. Recycled cotton yarns are a great option for amigurumi because they are sturdy and give you good stitch definition.
Hoooked options such as Eco Barbante and Soft Cotton.
In other words: choose a yarn that works well for your project, and let your stitches do the rest.
2. Work your amigurumi in spirals
Have you noticed that many amigurumi don't have an obvious line where one round ends and the next begins?
That's because they're usually crocheted in continuous rounds, also called spirals. Instead of joining the end of each round with a slip stitch and starting again, you simply continue crocheting into the next stitch. This creates a smooth finish without a visible seam running around your amigurumi.
There's just one small catch: it's very easy to lose track of where your round ends.
A stitch marker is your best friend here. You can buy a reusable stitch marker, or simply use a small piece of yarn in a different colour. Place it in the first stitch of the round and move it up as you go.

3. Make sure you're crocheting on the right side
When you crochet in the round, the fabric naturally has a right side and a wrong side. With amigurumi, the right side is the side that should normally face out. If your stitches look like little V shapes on the outside of your amigurumi, you're probably looking at the right side.
As you crochet, the piece can naturally start to curl or turn inside out. If that happens, simply turn it so the right side is facing out before you continue.
Getting this right makes a big difference to the final look of your amigurumi, especially when you're working with simple stitches where every little detail shows.
4. Try an invisible decrease
You've worked hard to keep those stitches neat and your fabric nice and tight. So why let your decreases give the game away?
A regular decrease can sometimes leave a visible line or bump in your amigurumi. An invisible decrease creates a smoother finish and is especially useful when shaping heads, bodies and other rounded pieces.
Here's how to do it:
- Insert your crochet hook through the front loop only of the next stitch.
- Insert your hook through the front loop only of the following stitch.
- Yarn over and pull through both front loops.
- Yarn over again and pull through the two loops on your hook.
And that's it! You've made an invisible decrease. It takes a little practice at first, but once you've got the hang of it, you'll start using it everywhere.
5. Embroider the eyes
Now for one of the most important details: the eyes.
Eyes can completely change the personality of an amigurumi. Move them slightly and suddenly your sleepy bear becomes a surprised bear. Move them again and you've got a bear who's definitely seen something he shouldn't have.
For a simple, soft and secure finish, embroidered eyes are a great option. Use a tapestry needle and a suitable yarn (we usually go for Soft Cotton) to stitch the eyes directly onto your amigurumi. You can make them as simple as two small dots, or add eyelashes, eyebrows and other details to give your creation more character.
Embroidered eyes are also a practical choice when you're making an amigurumi for a young child, as there are no separate plastic eye pieces to attach.
Our Hoooked DIY Kits regularly use leftover yarn for embroidered details, so this is also a great way to use up those tiny bits of yarn hiding in your stash.
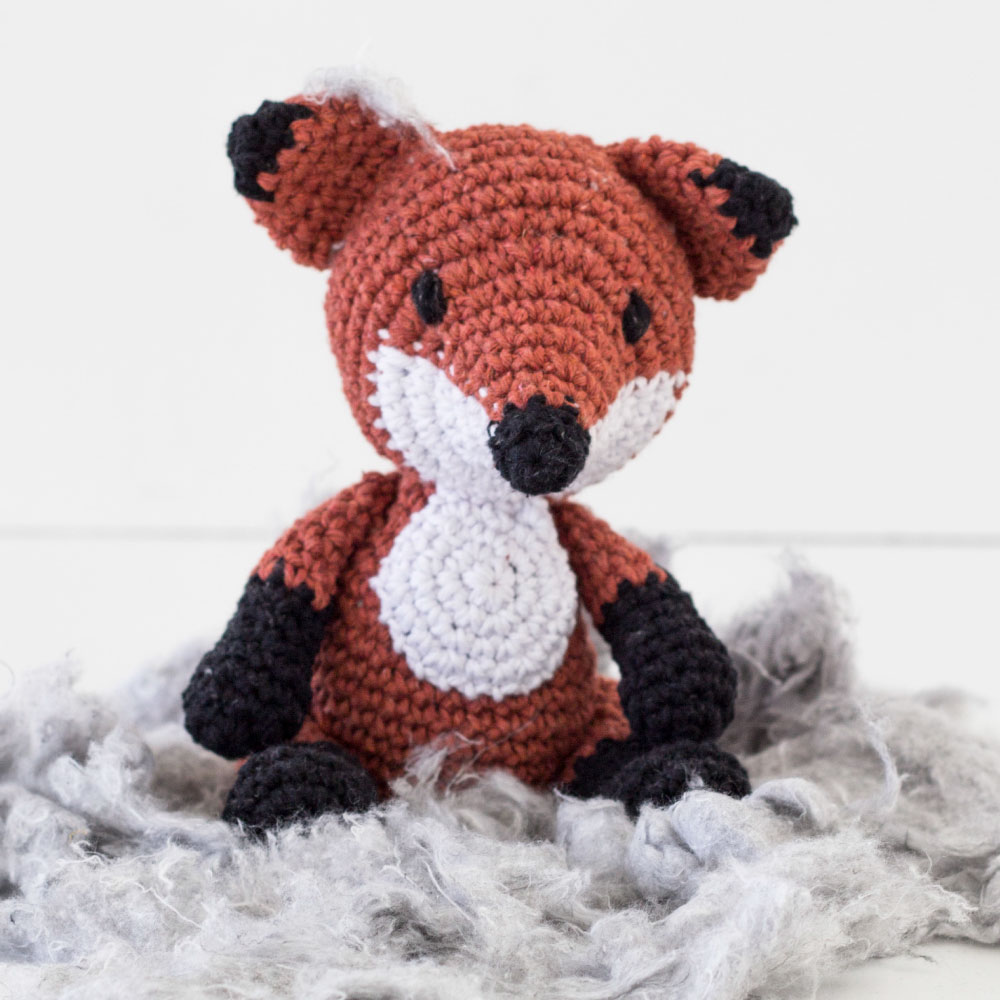
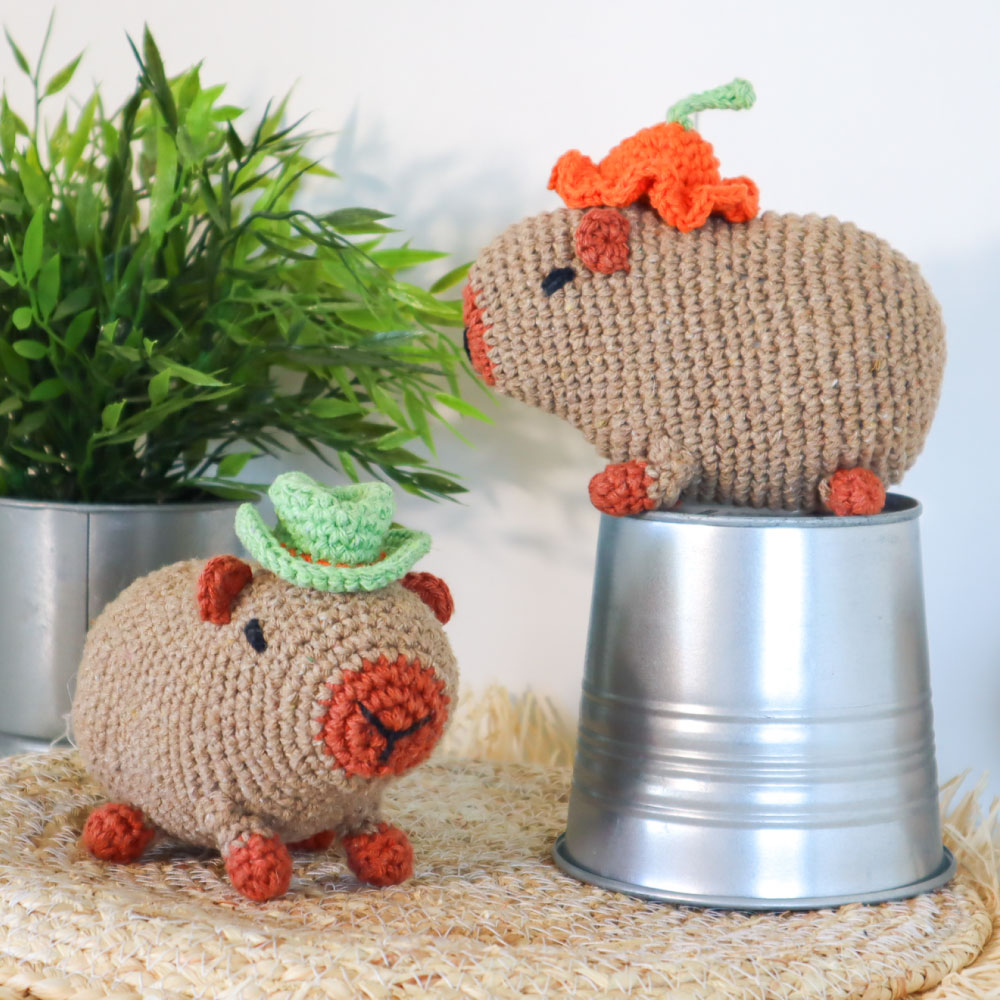
Ready to make your own amigurumi?
Now that you've got the basics down, it's time to put your new amigurumi skills to work!
Hoooked DIY kits make it easy to get started. Each kit comes with everything you need for your project, including the crochet pattern, eco-friendly yarn and crochet hook, so you can spend less time looking for supplies and more time crocheting. There are amigurumi projects for different skill levels, too. Start with a beginner-friendly design and work your way up to more challenging projects as your confidence grows. Before you know it, your collection of tiny crochet creatures might get a little out of hand. We won't judge!
And if you prefer to learn by watching, we've got you covered. Check out our amigurumi tutorial playlist on YouTube for helpful videos and step-by-step guidance to support you as you crochet.
Ready to pick your next project? Grab your hook and let's get crocheting!