 USA & Canada: Shipping costs depend on item weight and location
 Great customer care
 BLOG
BLOG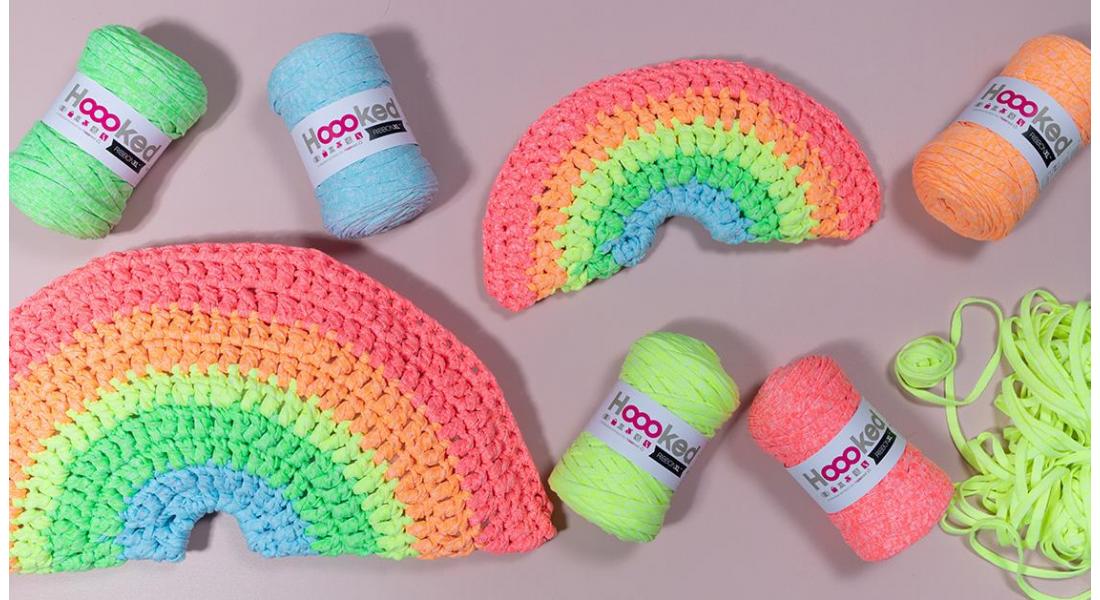
Rainbows.. you see them in a lot of places nowadays. In many southern European countries, it is an expression of hope and compassion in today's Corona crisis. Children draw or paint a rainbow on canvas or paper together with their parents as a family DIY project. The result is often something to hung on the front door or in the window frame. This makes the predominantly empty street scene a little brighter and gives passers-by a boost.
A rainbow is also a nice project to crochet. You can make them in any colour combination. A crochet rainbow is a fairly easy do-it-yourself project. If you crochet the rainbow with super chunky RibbonXL yarn and fill it with cotton filling then you have a colourful crocheted rainbow cushion!
We crocheted the rainbow with RibbonXL Neons for a super bold and popping colour combination, perfect to get into the mood for spring and summer! We hope you enjoy this free pattern on how to crochet a rainbow cushion.
What you need to make the crochet rainbow:
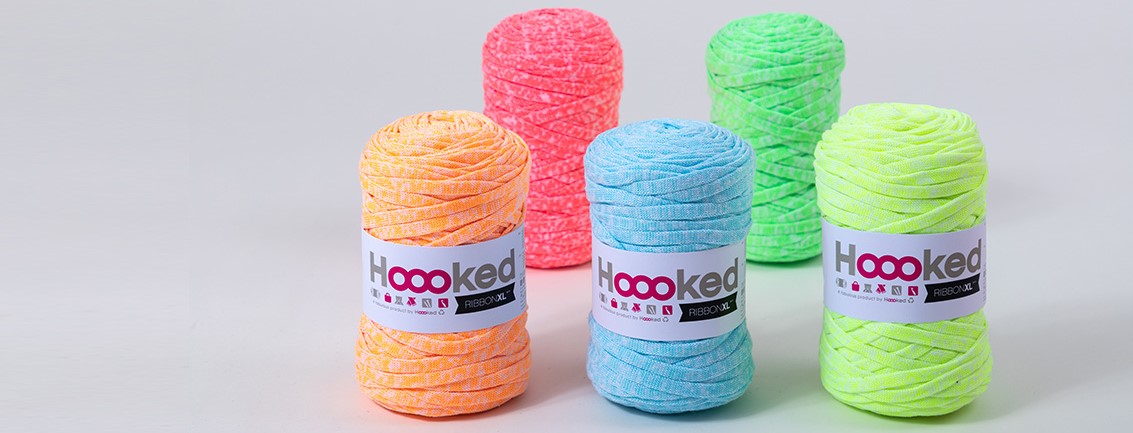
Whatever left over colours of super chunky yarns you might have left in your yarn stash. We used RibbonXL in super popping neon colours.
Used stitches and techniques:
With basis experience in crochet you will be able to crochet this rainbow in no-time, you will crochet a round and fold it. This UK pattern uses the following techniques:
| UK terminology | If you are from the USA, replace by: |
| Chain - ch Slip stitch – ss Double crochet – dc Treble- tr *…*- repeat Colour changes |
Chain - ch Slip stitch – ss single crochet – sc Double crochet *…*- repeat Color changes |
Free crochet pattern neon rainbow cushion
Start with colour 1: Blazing Blue
Chain 12. Close the chain and form a ring with a sl.st in the 1st stitch (=12).
R1: Inc.: Ch3 (counts as first tr). Crochet 23 tr in the ring, close round with a sl.st. in top of your first 3ch (=24).
R2: Inc.: Ch3 (counts as first tr), 2 tr in next tr, *1 tr, 2 tr in next tr*, close round with sl. st. (=36).
Change to colour 2: Electric Lime
R3: Inc.: Ch3 (counts as first tr), 1 tr, 2 tr in next tr, *2 tr, 2 tr in next tr*, close with sl. St. (=48).
R4: Inc.: Ch3 (counts as first tr)., 2 tr, 2 tr in next tr, *3 tr, 2 tr in next tr*, close with sl.st (=60).
Change to colour 3: Laser Lemon
R5: Inc.: Ch3 (counts as first tr)., 3 tr, 2 tr in next tr, *4 tr, 2 tr in next tr*, close with sl.st (=72).
R6: Inc.: Ch3 (counts as first tr), 4 tr, 2 tr in next tr, *5 tr, 2 tr in next tr*, close with sl.st. (=84).
Change to colour 4: Atomic Tangerine
R7: Inc.: Ch3 (counts as first tr), 12 tr, 2s tr in next tr, *13 tr, 2 tr in next tr*, close with sl.st. (=90).
R8: Inc.: Ch3 (counts as first tr), 13 tr, 2 tr in next tr, *14 tr, 2 tr in next tr*, close with sl.st. (=96).
Change to colour 5: Radical Rose
R9: Inc.: Ch3 (counts as first tr), 14 tr, 2 tr in next tr, *15 tr, 2 tr in next tr*, close with sl.st. (=102).
R10: Inc.: Ch3 (counts as first tr), 1 tr in every stitch (=102)
Finishing:
Do not cut off the Radical Rose, make sure you leave a long yarn tail. With this yarn tail you will close the top of the rainbow. Fold your circle in half to create the rainbow. Make sure your working yarn is on the right edge of your project. Close the rainbow: Ch 1, crochet 1 dc in every stitch. Cast off. Fill your rainbow with Hoooked recycled cotton filling. Close the other side of the rainbow with the colour Blazing Blue and a sewing needle - using the whip stitch.
Tip: Do you want to make a smaller rainbow? Work 1 round per colour instead of 2 rounds per colour! In total you will crochet 5 rounds.


