EU: Free Shipping starting from €60
 Great customer care

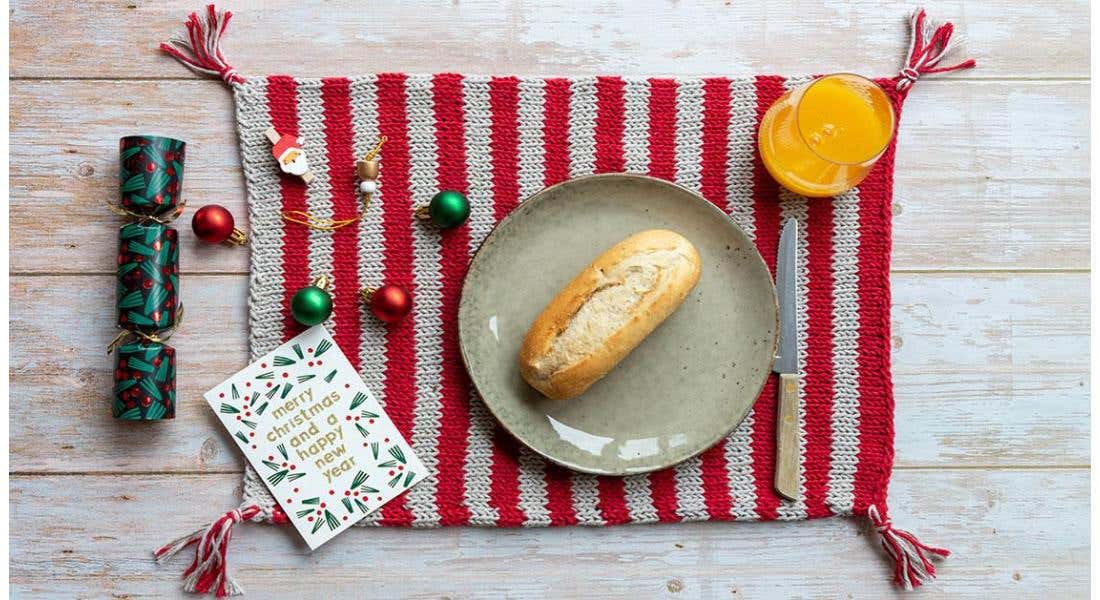
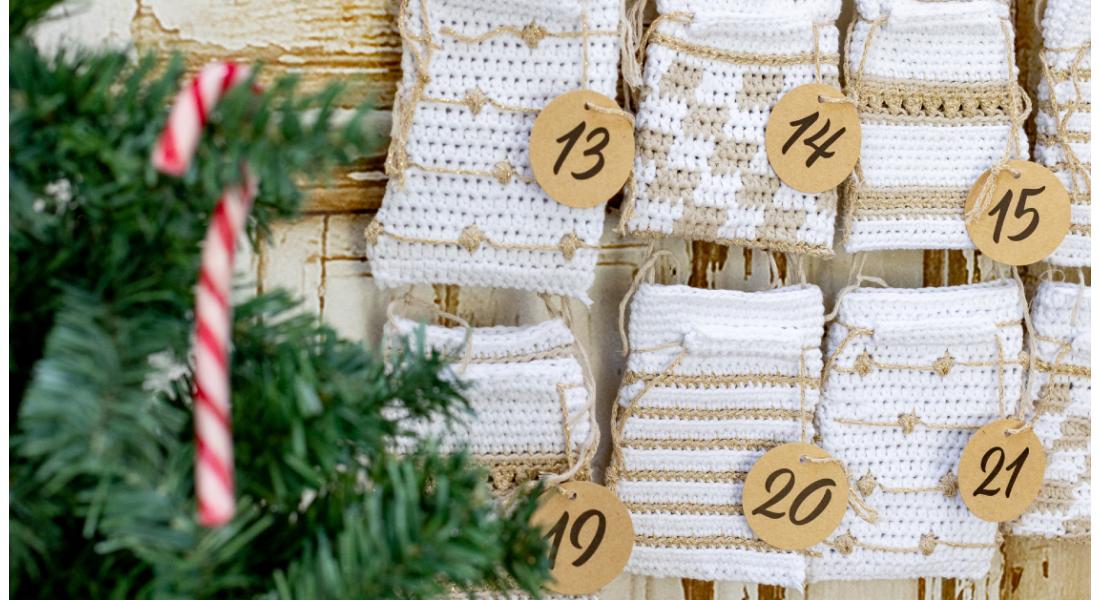
This double-thickness knitted Christmas placemat is a wonderful way to dress your table for the festive season and beyond, providing both heat insulation and looking beautiful with it! Its tasseled corners add a touch of fun, and its classic striped design is both timeless and modern. This free Christmas pattern for a table mat is suitable for Intermediate knitters. The design comes from our knitting Instagram friend in Spain: Emma Munn, from EmmaKnitty. Make sure to check out her Instagram page filled with tons of inspiration!
This knitted table runner is a fun make for those wanting to practice simple colour work in the round, as well as for advanced knitters who'd like a simple, 'Netflix & Knit' project.
Level: Intermediate. Please make sure you have the required abilities listed in the 'Skills' section in order to complete this pattern. Read the notes section thoroughly before starting for some useful hints and tips.
Skills and stitches: Long-tail cast on (or a cast on of your choice), using circular needles, joining in the round invisibly, knit stitch (k), changing colours, casting off, seaming, such as mattress stitch.
Gauge: Knit 22 sts x 16 rounds for a 10 cm (4 inches) tension square. It is very important to knit a tension square before proceeding to ensure that the size is as close as possible to the pattern, going up or down a needle size accordingly.
Measurements: 42 by 32 cm (16 x 12 inches).
Materials:
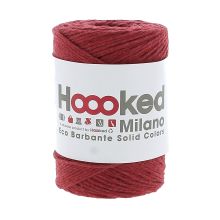
- Around 1x 100g Eco Barbante Ruby (C1)
- Around 1x 100g Eco Barbante Biscuit (C2)
- 5,5mm Circular Knitting Needles with 40cm cord
- Scissors
- Darning Needle
A few tips before you start:
When changing colours, break the previous strand of yarn and start working with the new colour, weaving them in on the wrong side (the inside of the placemat) when you finish. If you are a confident Fair Isle or colour work knitter, feel free to carry the yarn on floats on the inside of your work to avoid weaving in as many ends. Always cast on and bind off quite loosely, especially if you tend to be a 'tight' knitter. This will avoid puckering your work at the top and bottom. You can use any cast on to work this pattern but a stretchy one such as the long-tail cast on is recommended.
You can easily change the size of the placemat by casting on more or fewer stitches. A larger placemat or table runner also makes a wonderful place to serve pots of food when placed on a table.
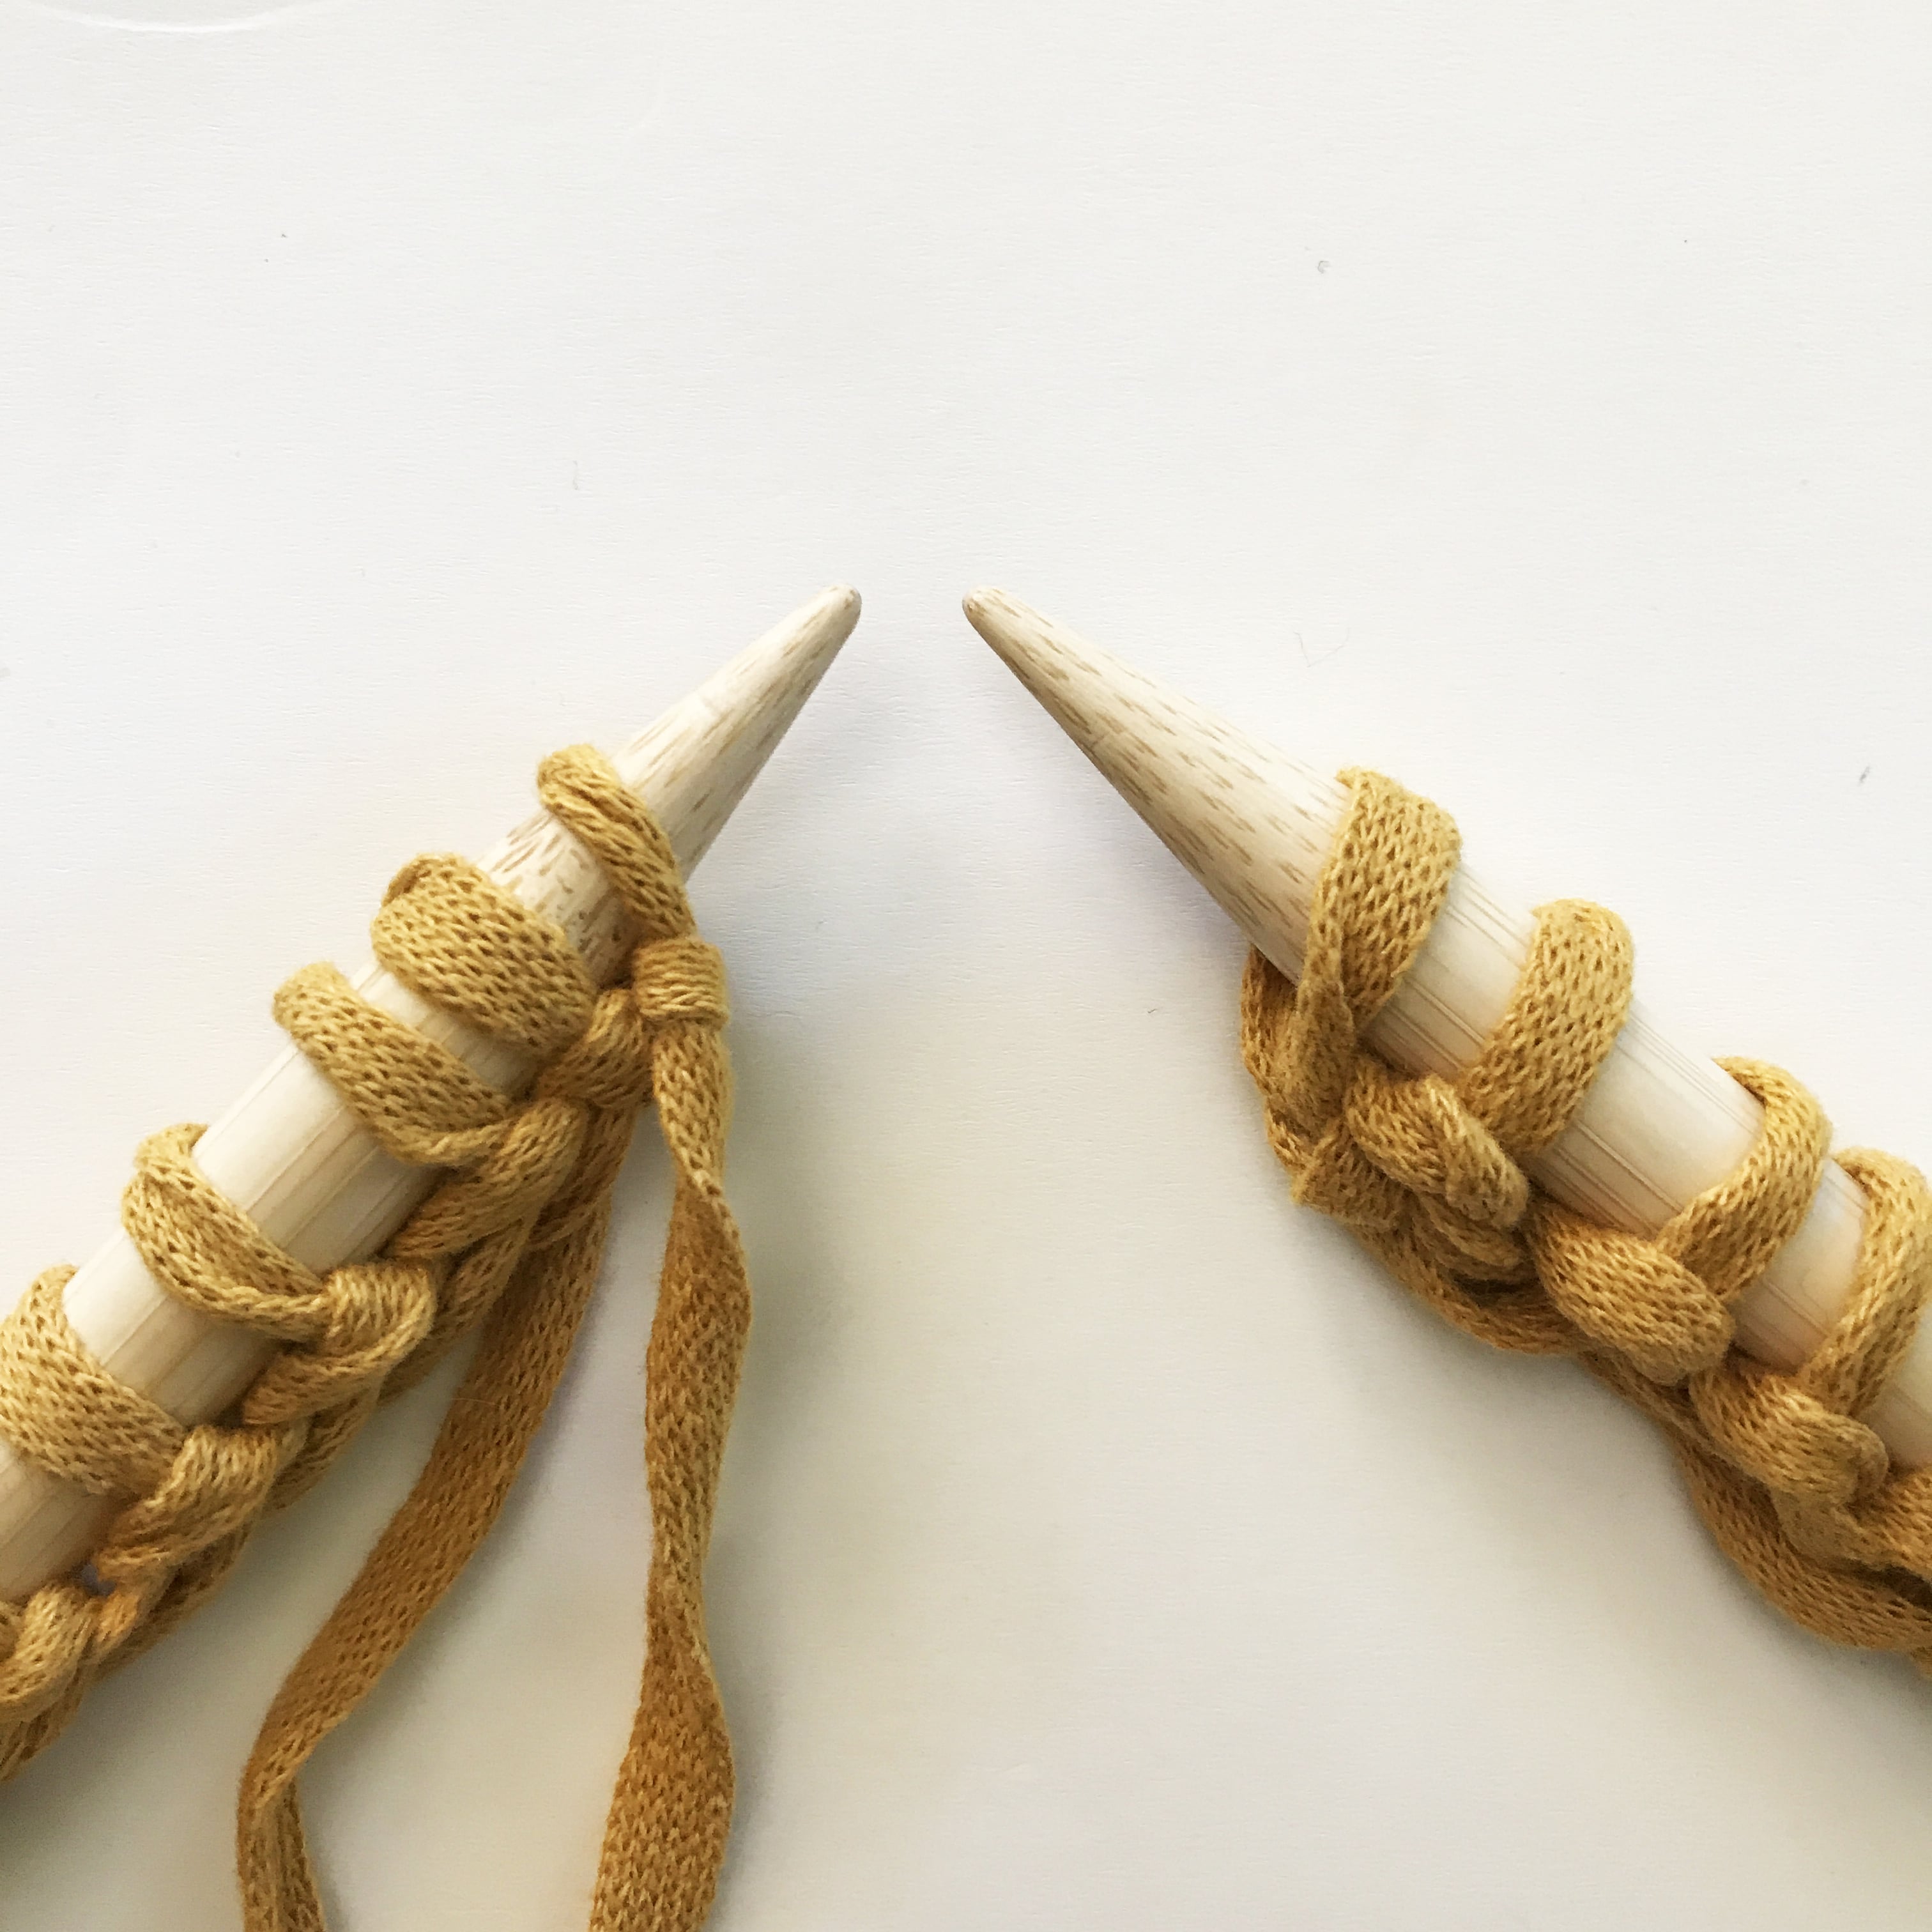
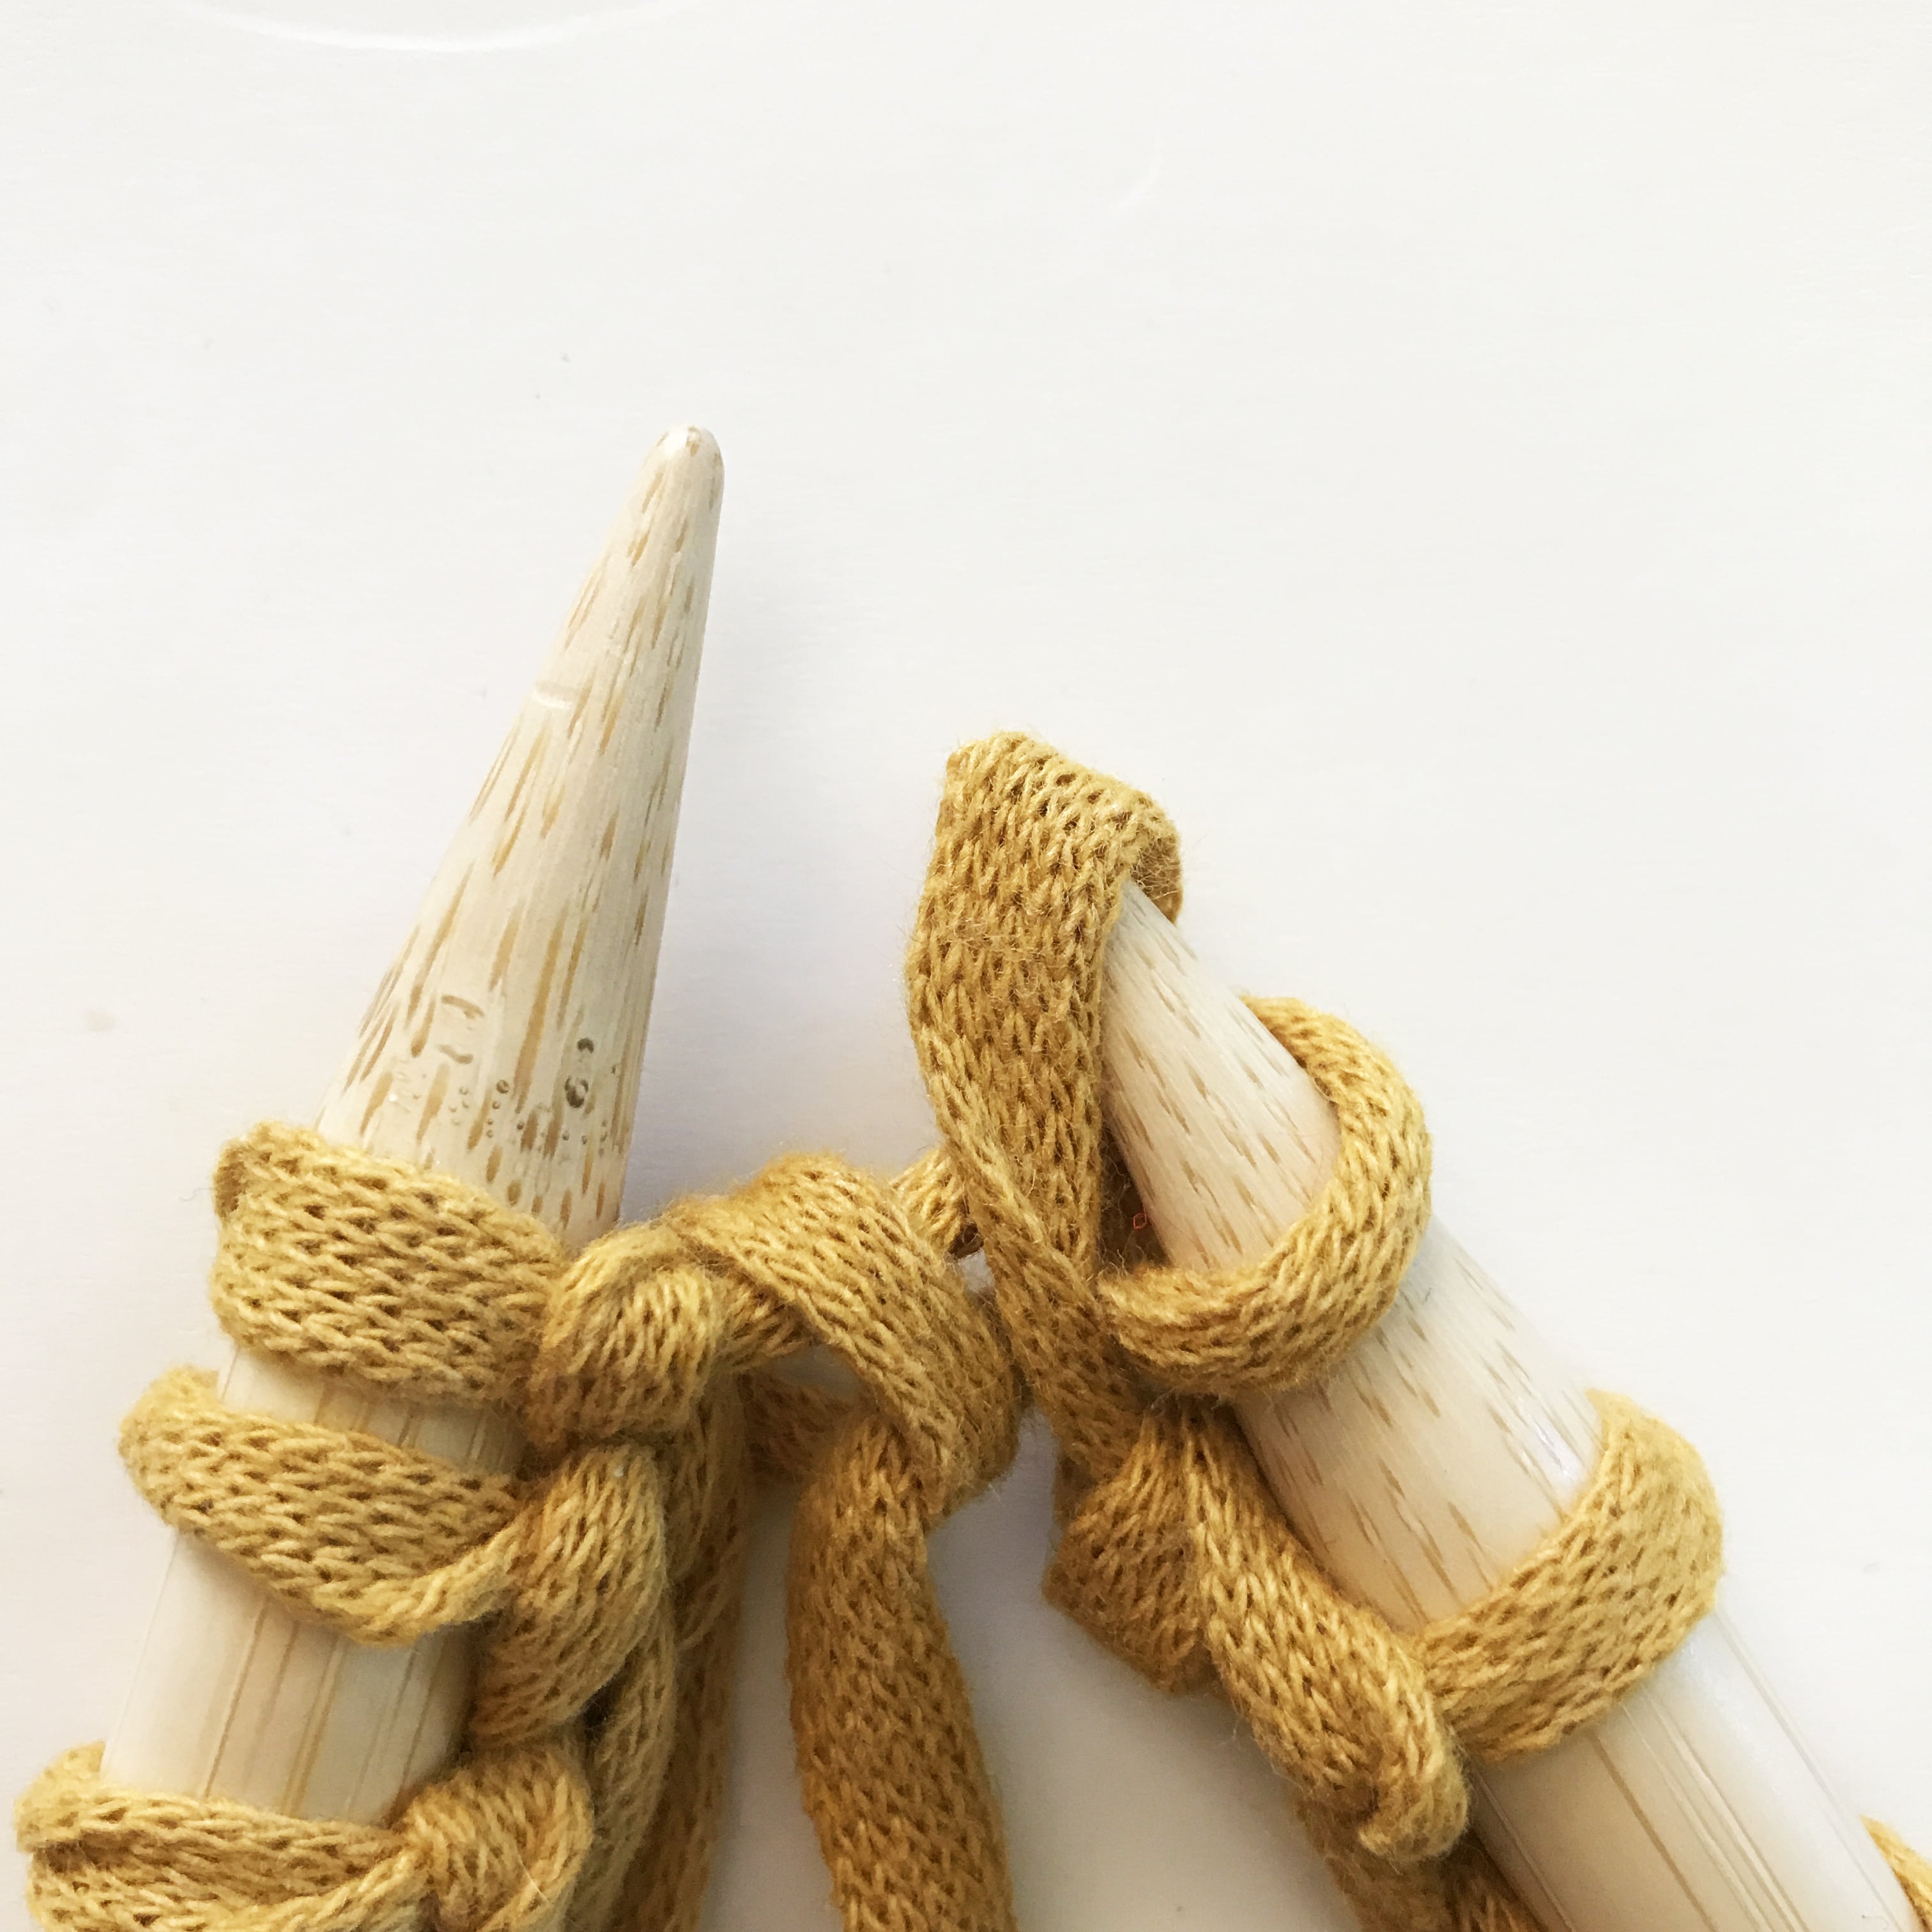
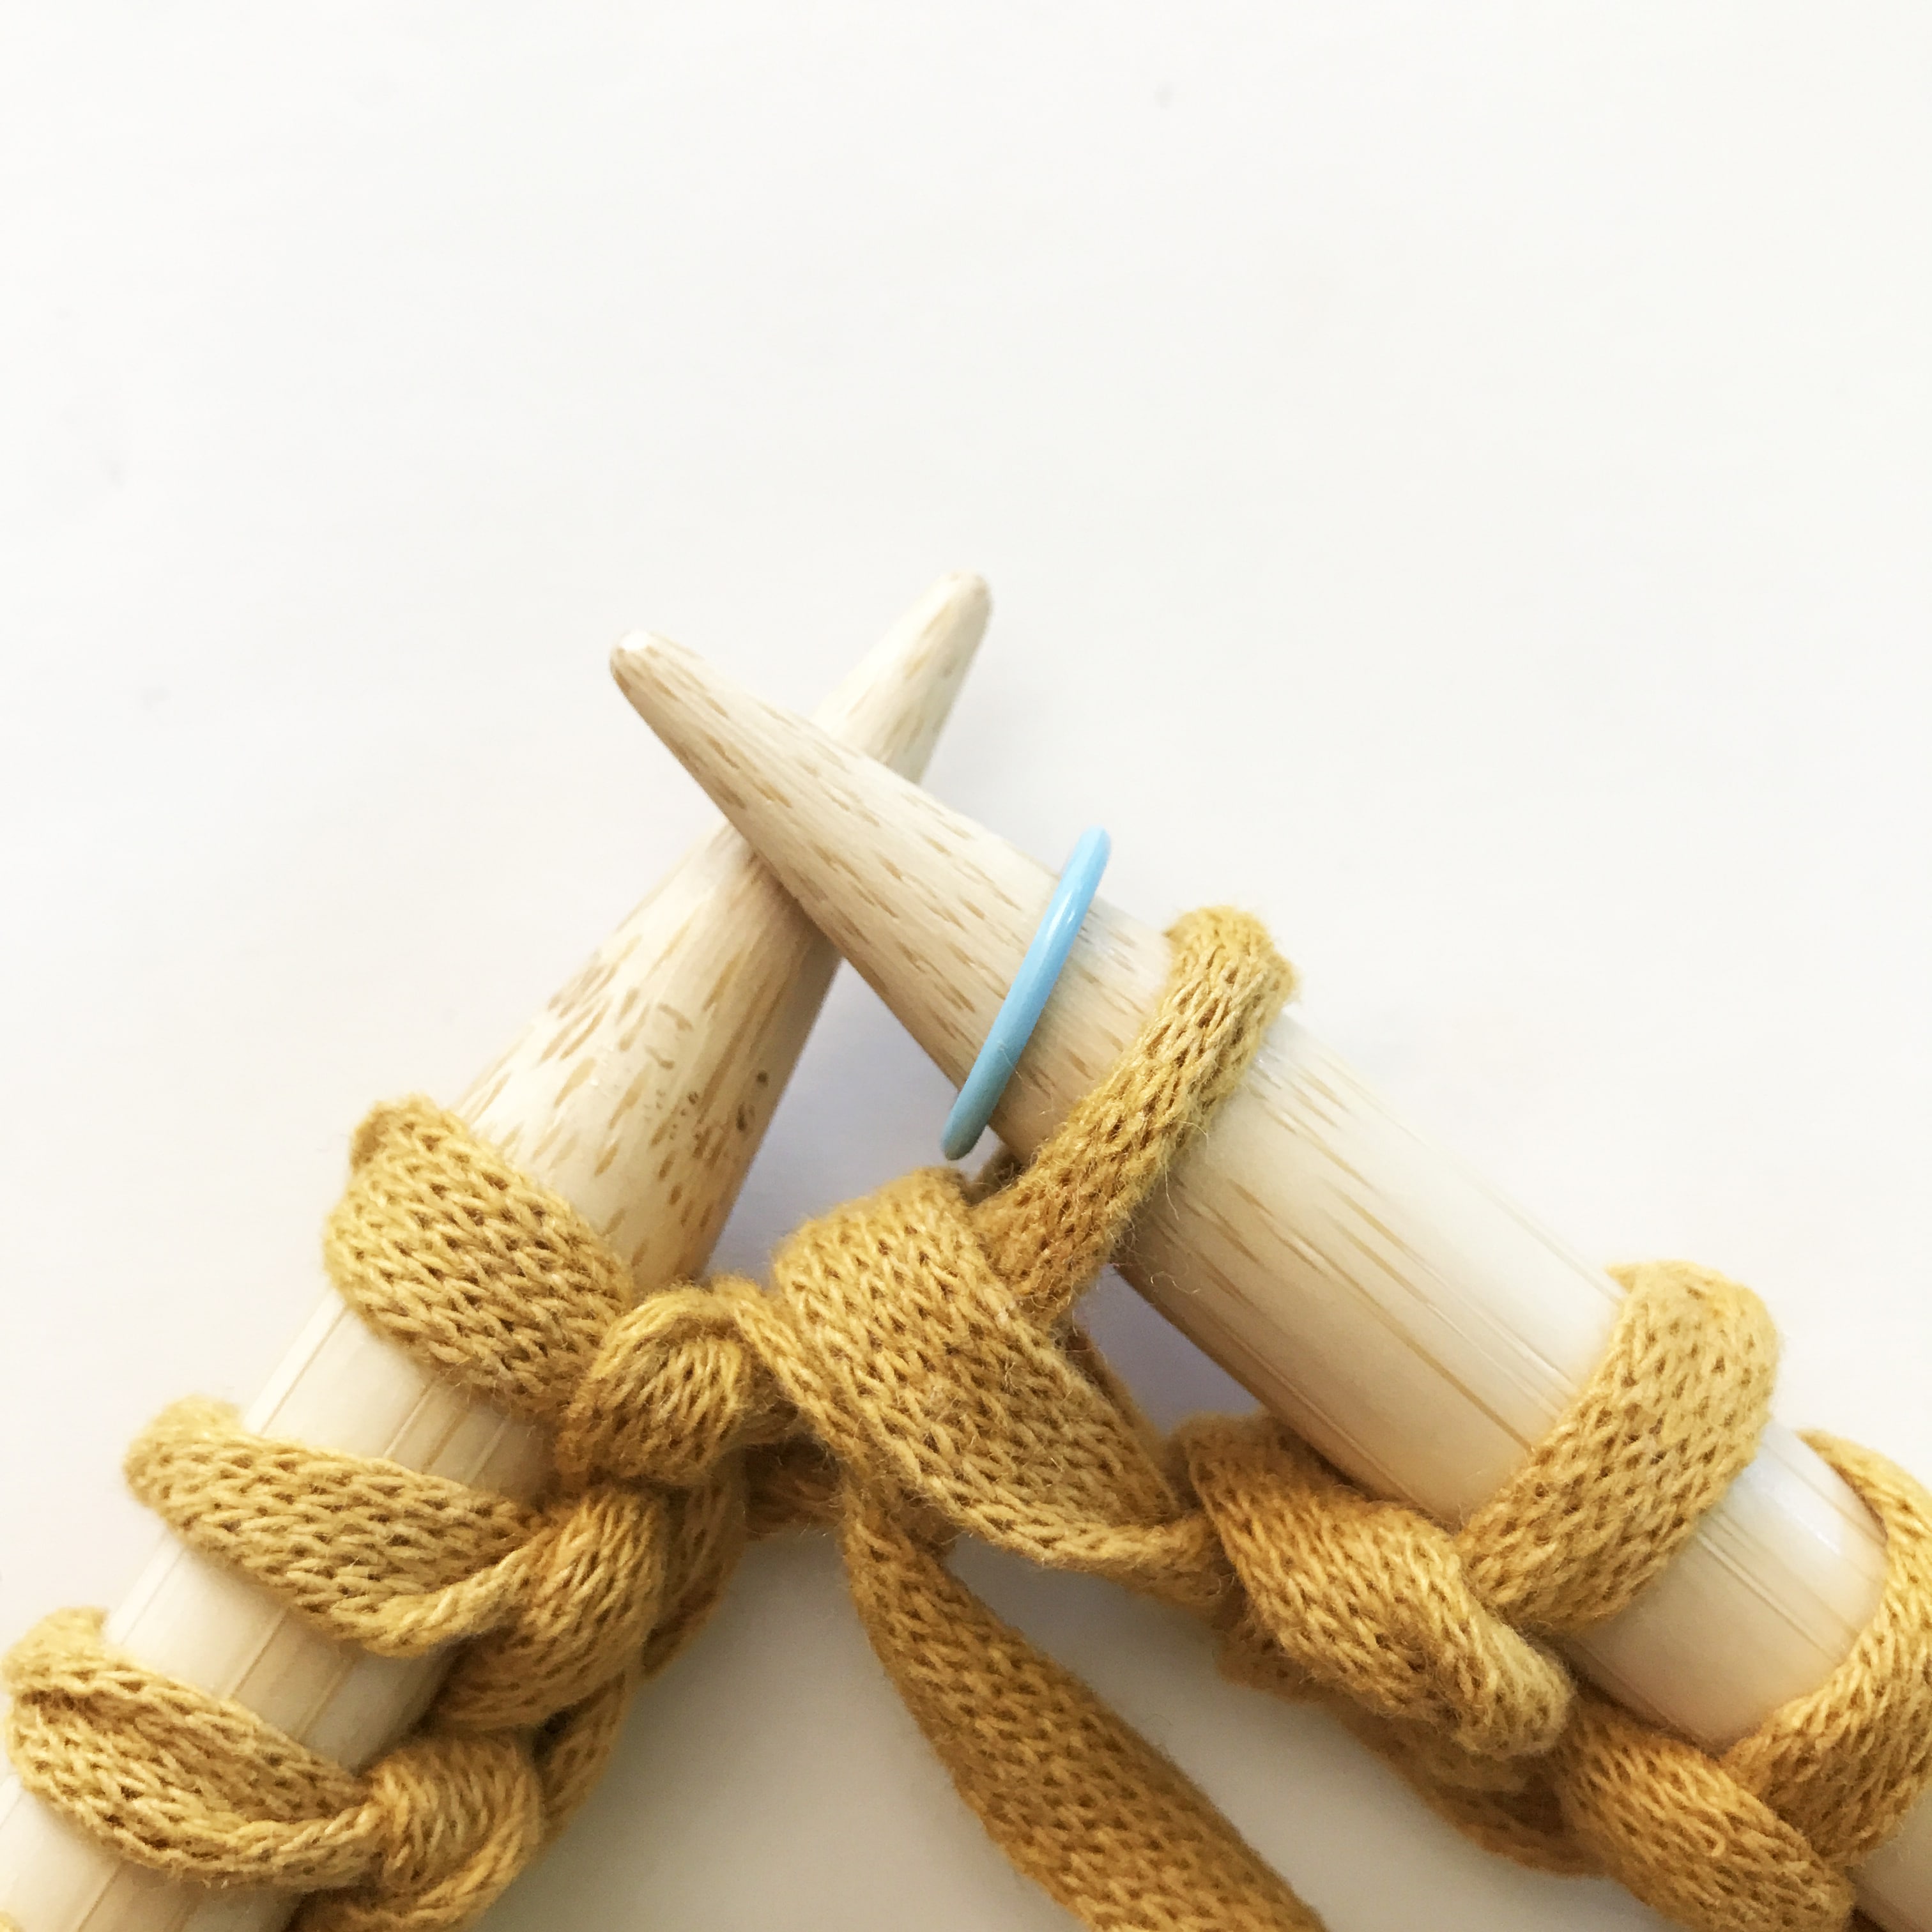
How to join in the round invisibly?
First of all, make sure that the stitches are not twisted on your needles. For this method, we will always cast on one stitch extra. For example, in this pattern our final stitch count will be 100 stitches, so we will cast on 100 +1, in total 101 stitches.
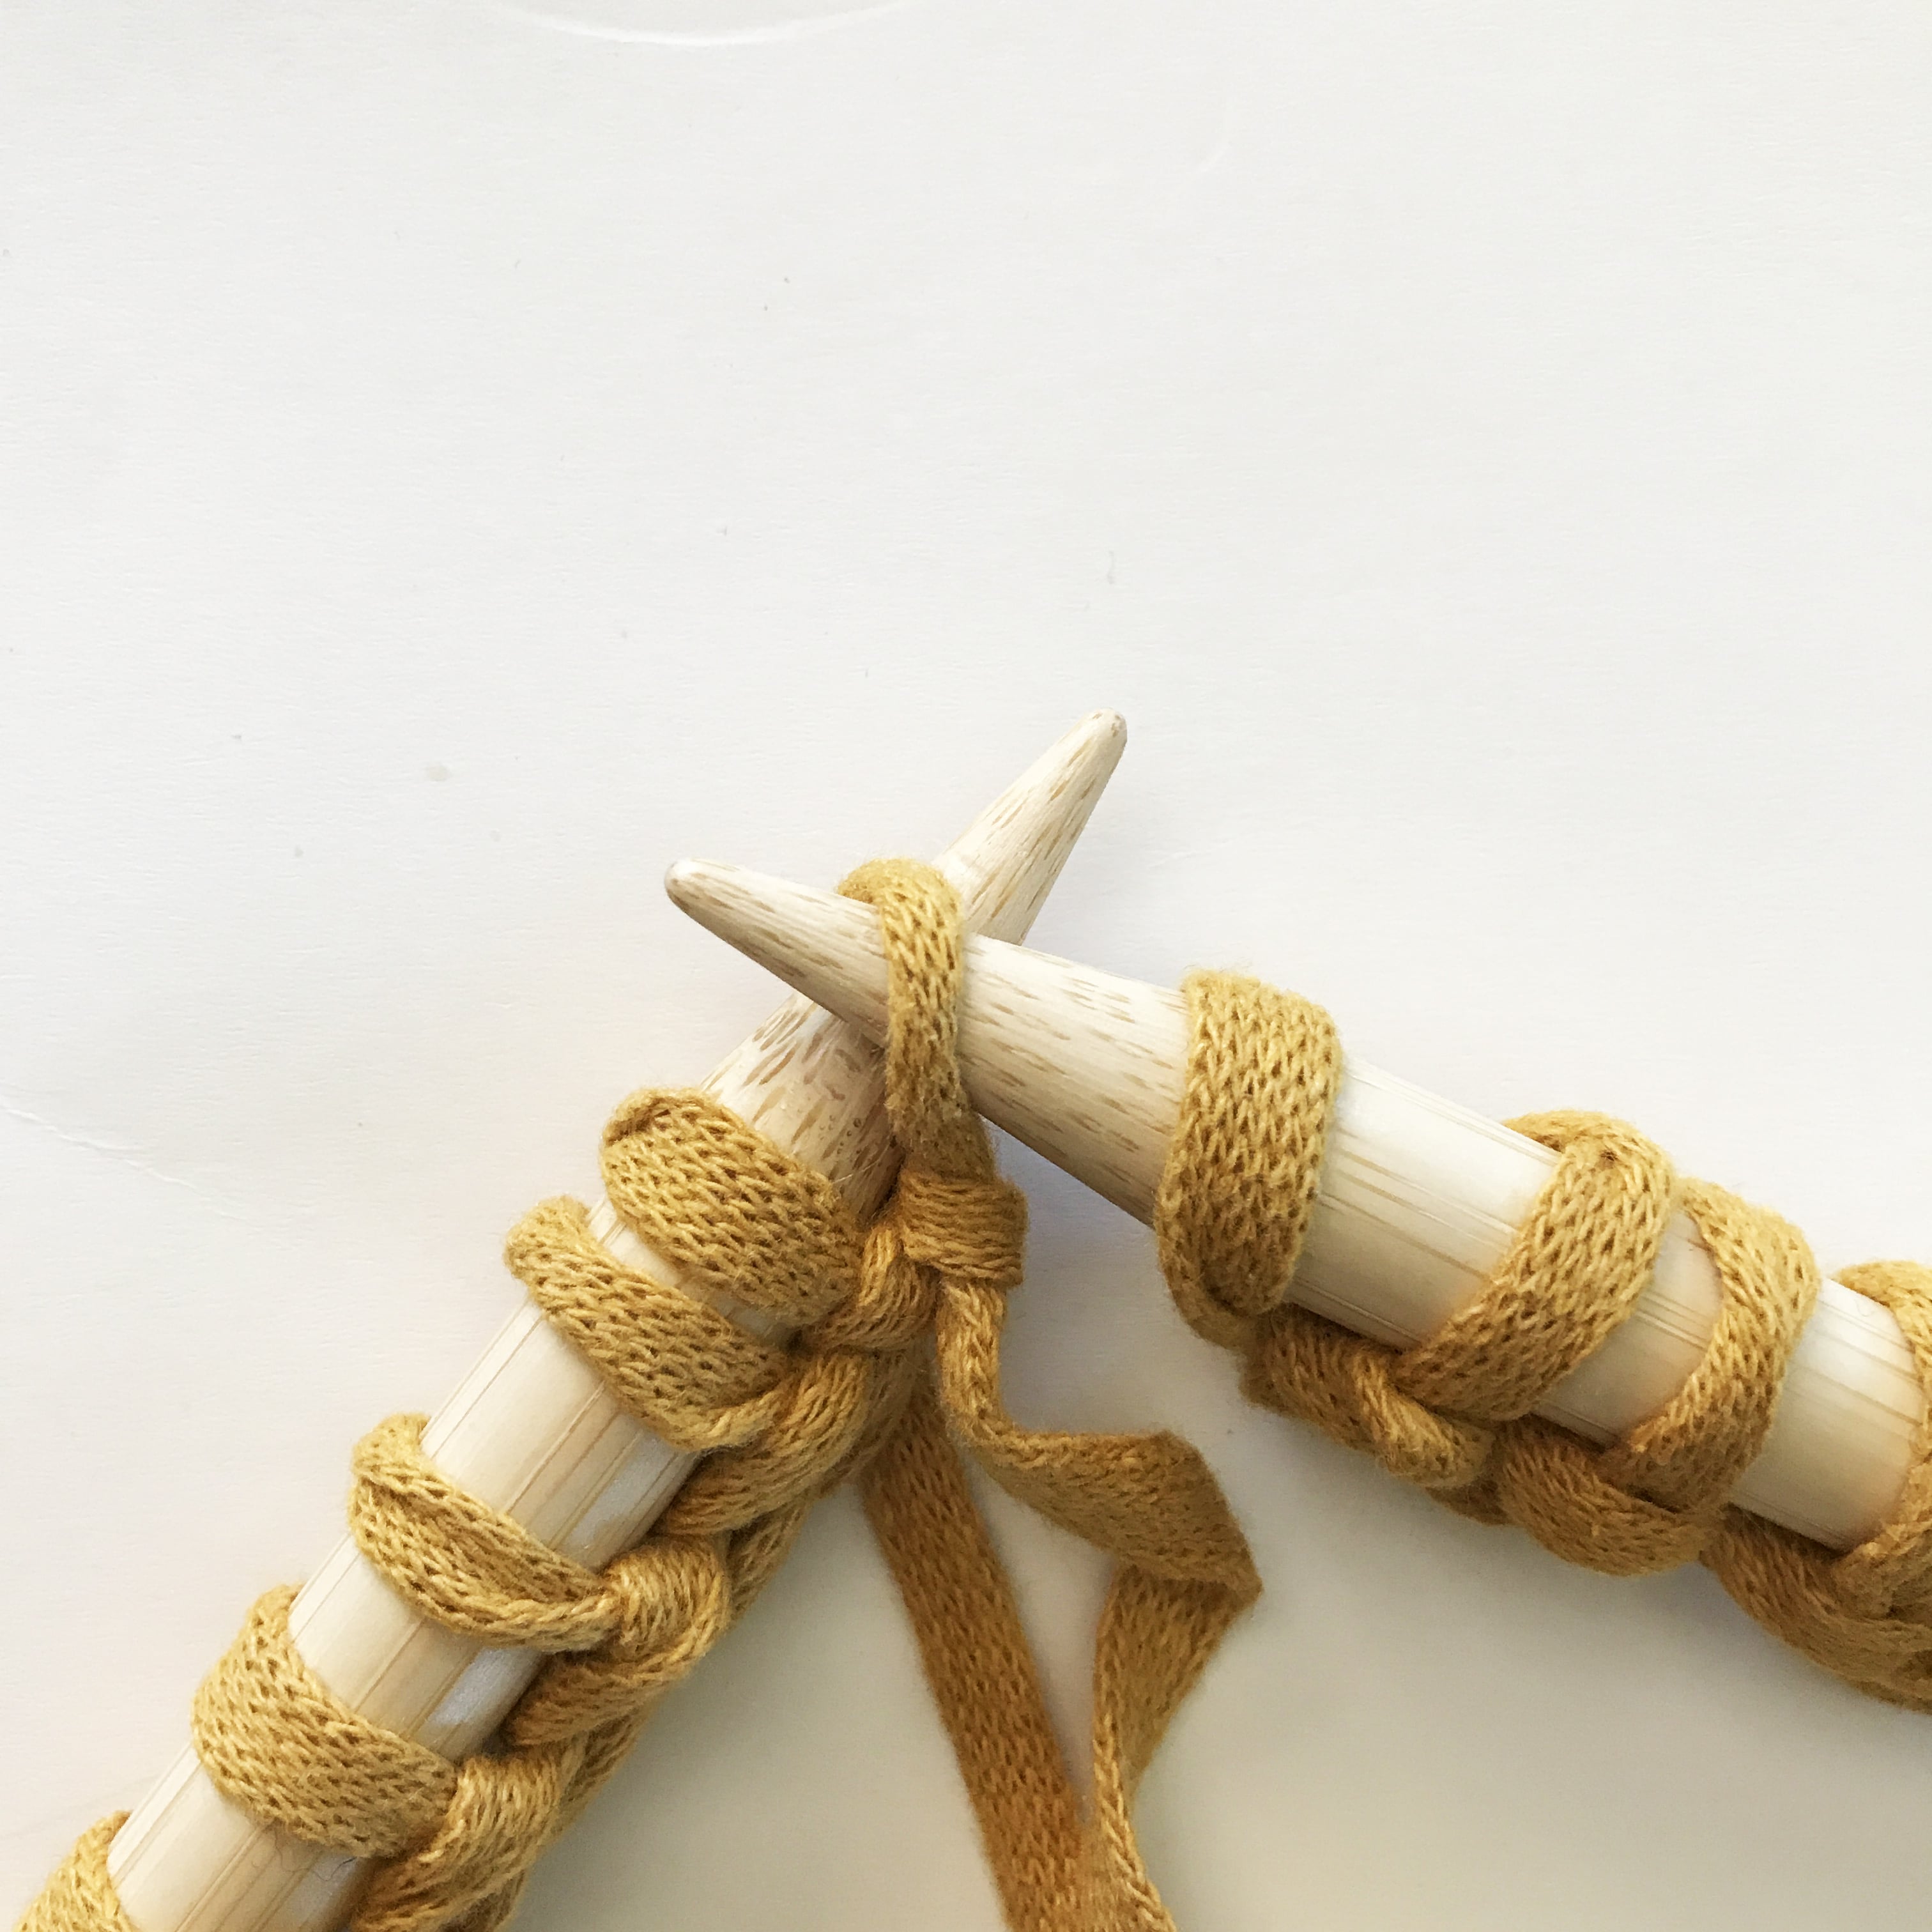
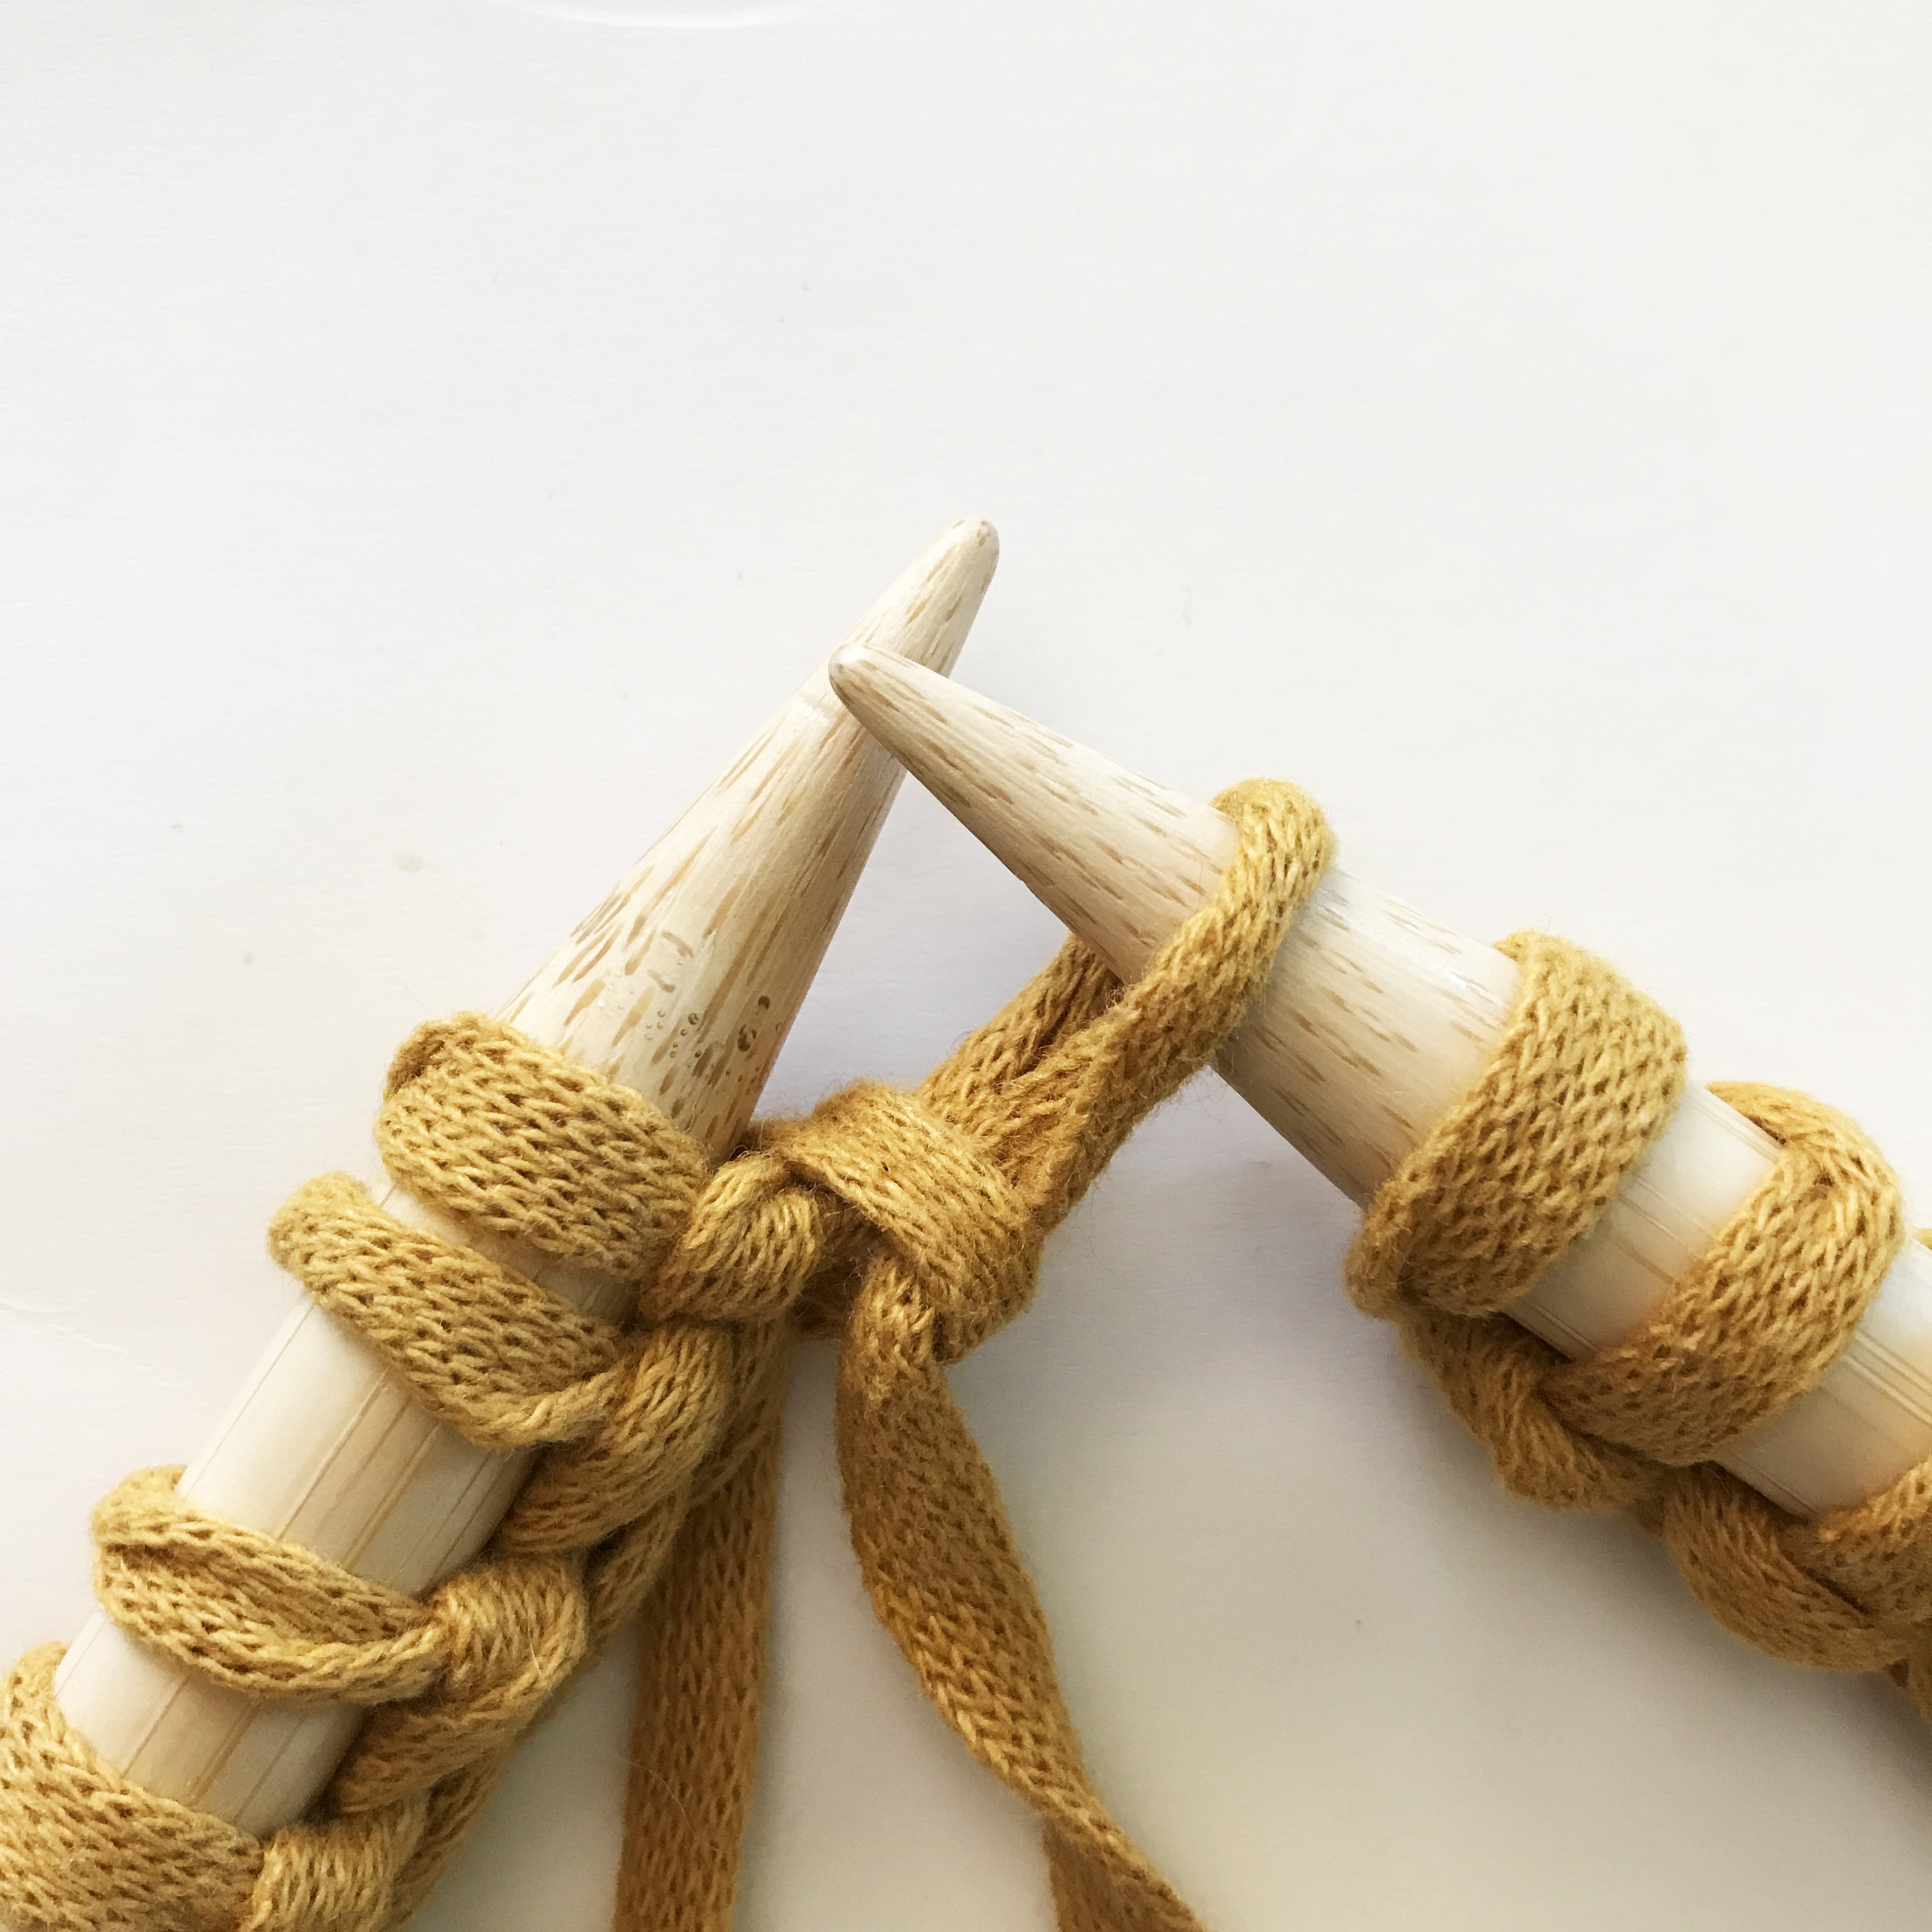
Move the stitches close to the tips of your needles and make sure that the stitches aren't twisted (photo 1). Slip the first stitch you cast on (typically the slip knot) from your left needle to your right (photo 2). This stitch will now be on the right-hand needle (photo 3). Move the last stitch you cast on (now the second stitch on your right needle, indicated by an arrow) over the stitch you just passed onto it. Do this just like you would if you were binding off (photo 4, 5, 6). Tighten both yarns (the yarn tail and the working yarn) so it has regular tension. The stitch you’ve passed over should now look like the other loops. Place your stitch marker now to indicate the beginning of your round (photo 7).


Free knitting pattern for a Christmas table mat:
Co 101 sts and join to work in the round invisibly in the shade 'Biscuit'. Place marker. Take care that your stitches are not twisted (100 sts). Knit the number of rounds below or until your yarn runs out and you have reached the desired size of the table mat.
Rounds 1 – 4 k every stitch in C1
Rounds 5 – 8 k every stitch C2
Rounds 9 – 12 k every stitch in C1
Rounds 13 – 16 k every stitch C2
Rounds 17 – 20 k every stitch in C1
Rounds 21 – 24 k every stitch C2
Rounds 25 – 28 k every stitch in C1
Rounds 29 – 32 k every stitch C2
Rounds 33 – 36 k every stitch in C1
Rounds 37 – 40 k every stitch C2
Rounds 41 – 44 k every stitch in C1
Rounds 45 – 48 k every stitch C2
Rounds 49 – 52 k every stitch in C1
Rounds 53 – 56 k every stitch C2
Rounds 57 – 60 k every stitch in C1
Rounds 61 – 64 k every stitch C2
Rounds 65 – 68 k every stitch in C1
Rounds 69 – 72 k every stitch C2
Rounds 73 – 76 k every stitch in C1
Rounds 77 – 80 k every stitch C2
Rounds 81 – 84 k every stitch in C1
Rounds 85 – 88 k every stitch C2
Rounds 89 – 92 k every stitch in C1
Rounds 93 – 96 k every stitch C2
Round 97 – Bind off all stitches loosely. Seam each open end carefully. Wet block if desired and leave to dry flat.
Optional: make tassels
If you have yarn left and want to spice up the table math and make it extra festive. Then make one tassel for each corner. This is very easy to do and has a huge effect. Here is how to make a tassel:
Photo 1: Cut a length of each of the yarns and hold them double (the fuller you’d like the tassel, the longer the length you should cut). Thread it onto a tapestry needle. Pinch a corner of the placemat with the middle finger and thumb of your non-sewing hand.
Photo 2: Bring the needle through the tip of the corner, over the top of your index finger, and back through the tip of the corner again. Repeat this, making as many loops as you want (I made three loops).
Photo 3: Tightly wrap the around the base of the loops a few times then bring the needle up through the centre of the tassel.
Photo 4: Trim the tassel to whatever length you desire.