EU: Free Shipping starting from €60
 Great customer care

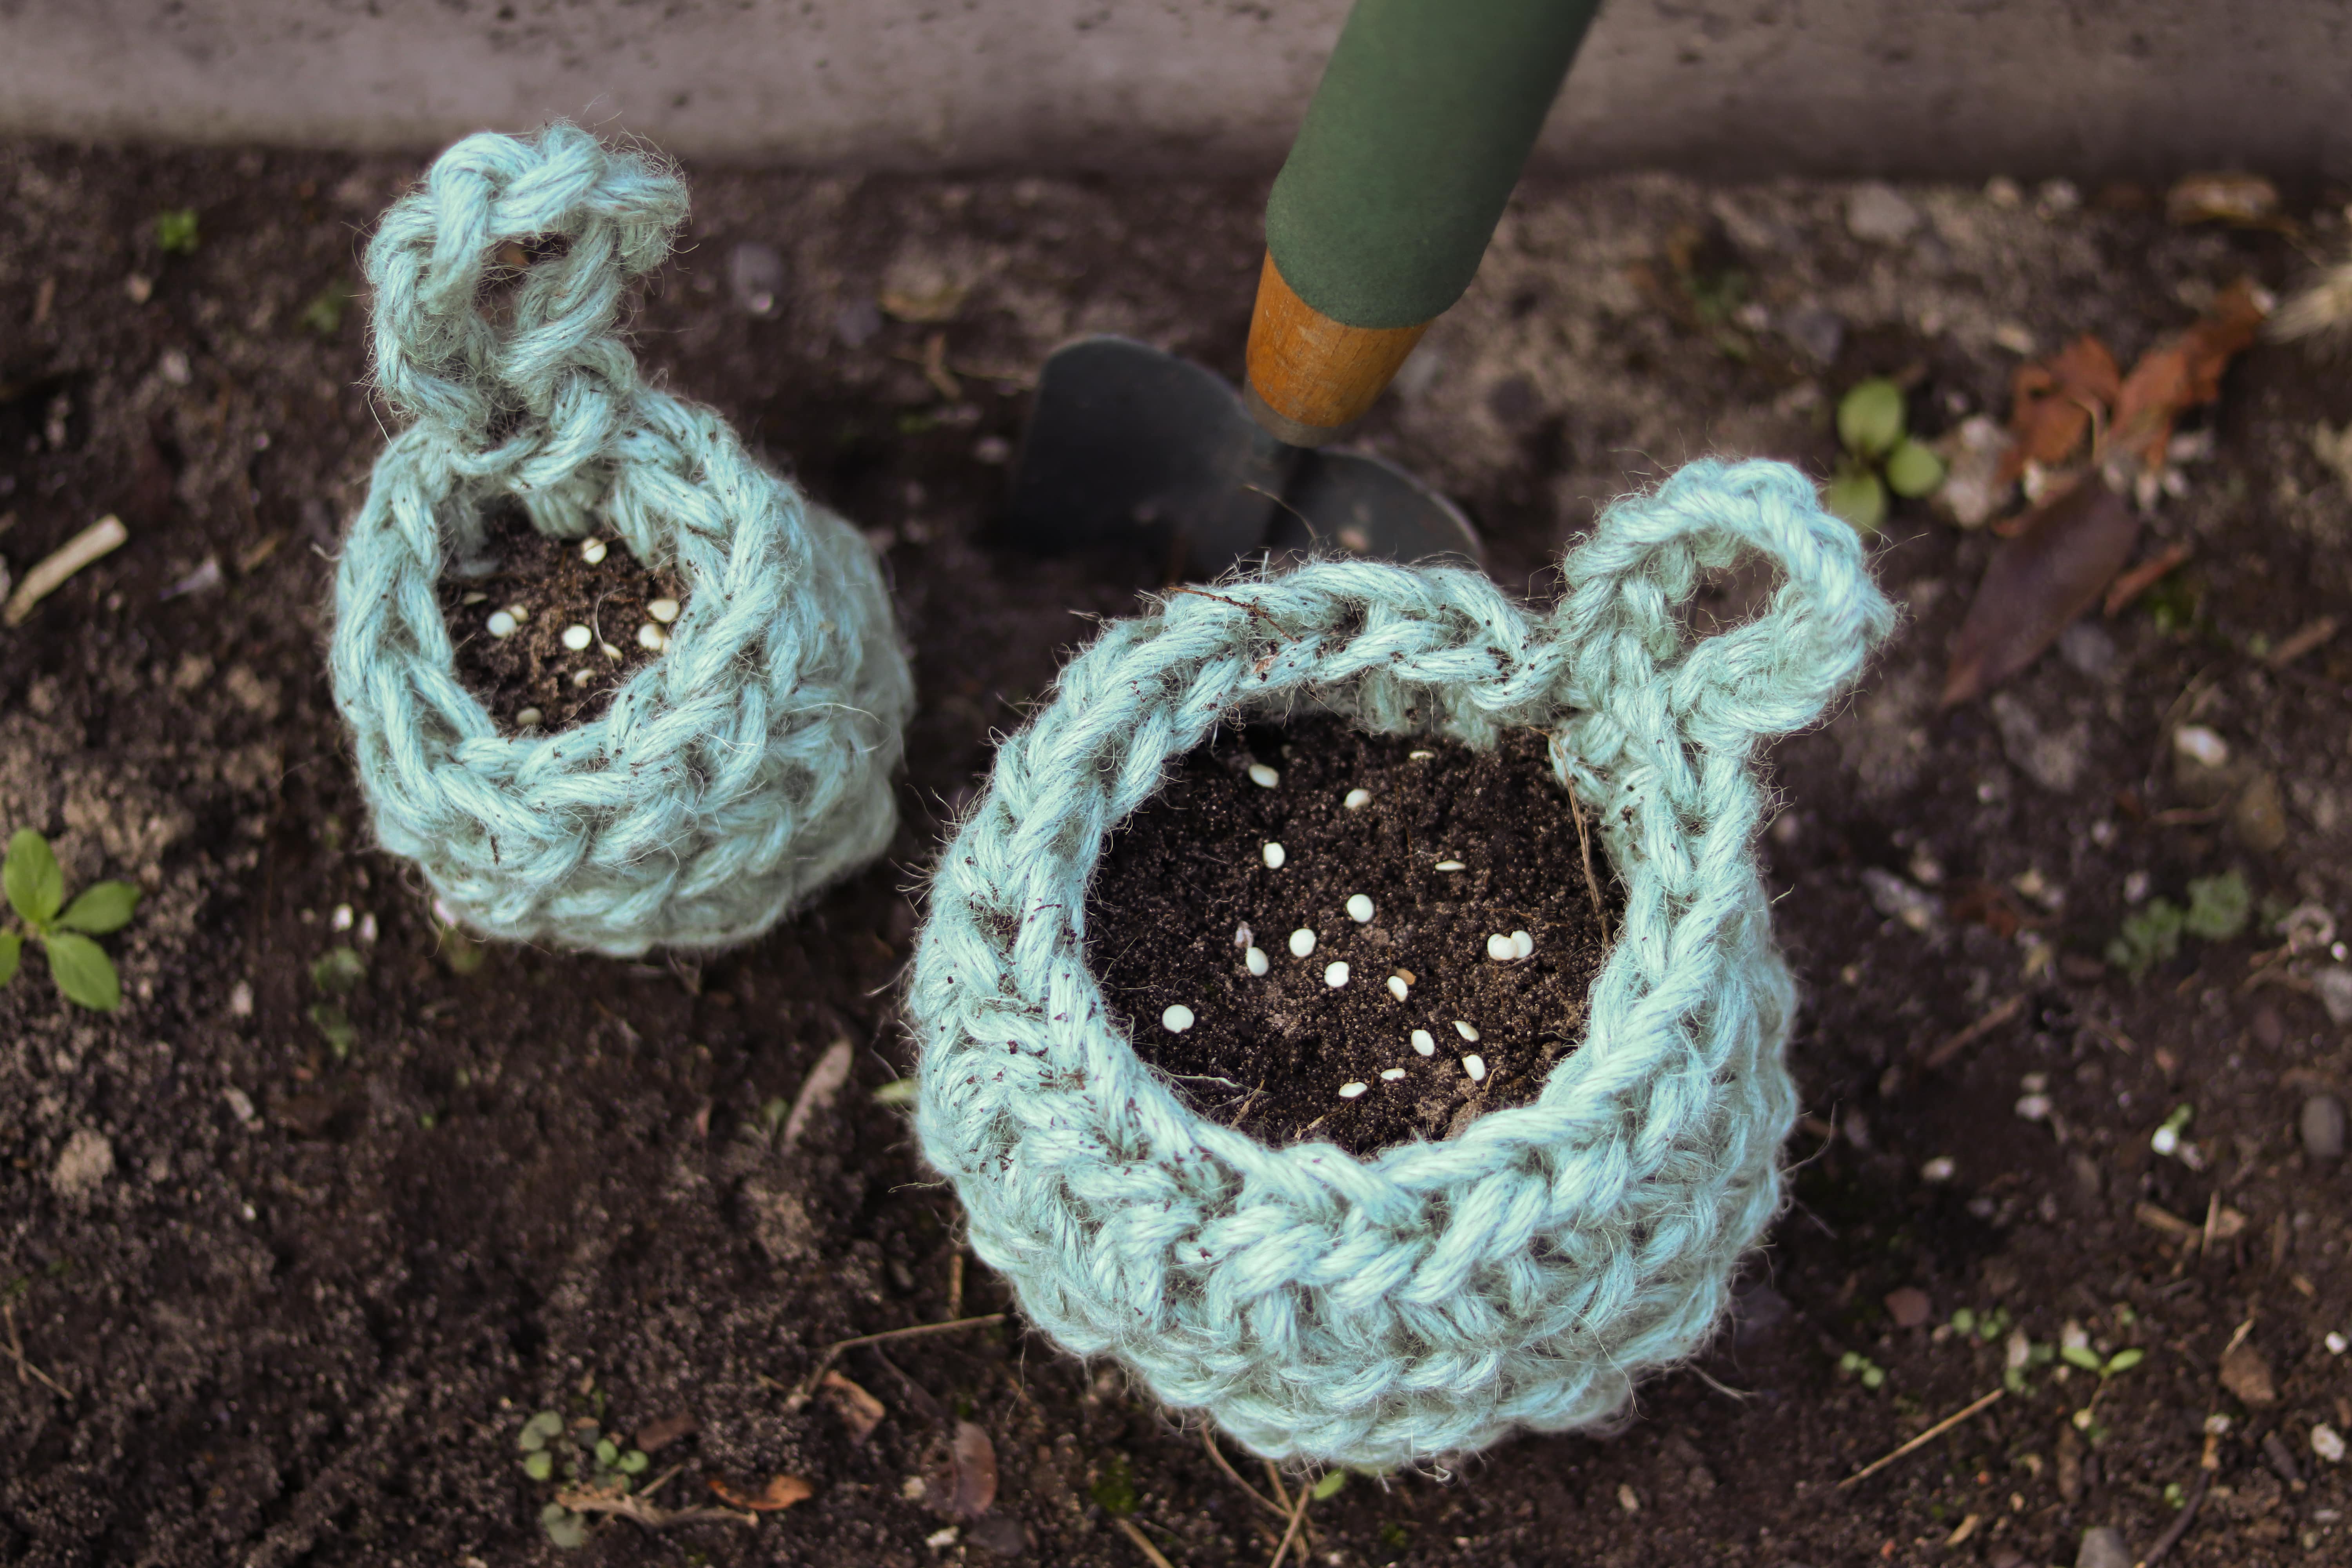
Crochet a garden pot nursery!
During the periods of prolonged confinement, a lot of people have used their extra time at home to learn new skills and crafts, such as crochet, knitting, sewing and macramé. Other people have been taking up cooking and gardening. What is not to like about growing your own plants, fruits and veggies? With a few tips and tips, you can even install a vegetable garden in smaller spaces, such as balconies and terraces. Watching planted seeds become real plants and harvest your carefully grown crop from your own nurtured plants is a deeply satisfying experience. In order to grow seeds into seedlings, you need seedling pots or air pots. Here your seeds can grow into small seedlings that can be transplanted to larger soil pots or even in the ground - if you have a garden.
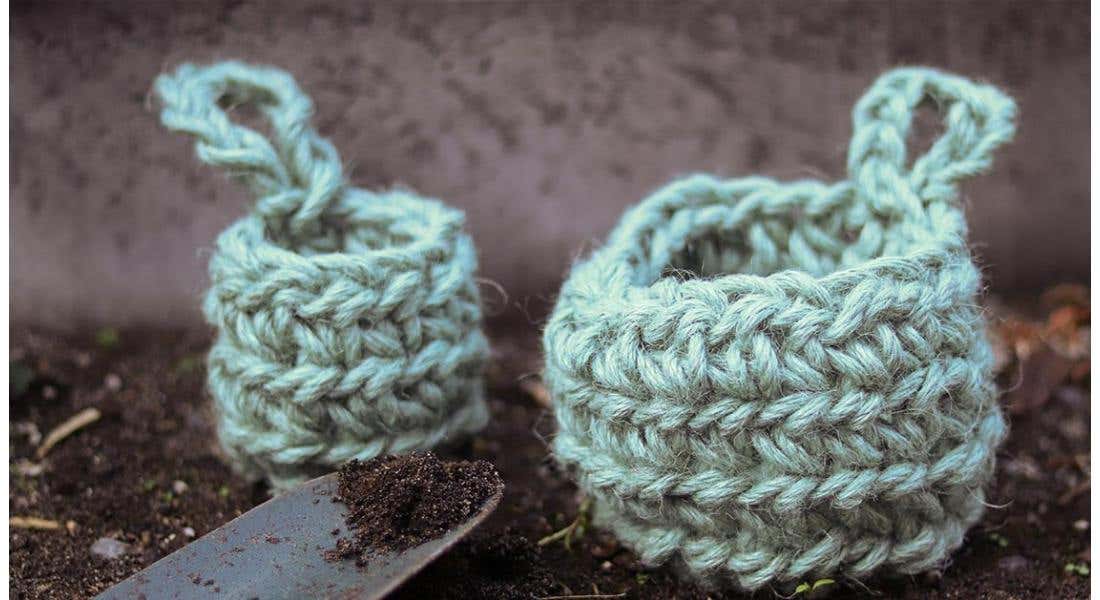
Biodegradable crochet seedling pots
Crochet seedling pots are a great alternative to store-bought plastic air pots and of course much better for the environment. This is especially true if you choose to work with recycled yarns or biodegradable yarns. These yarns leave no harmful residues and can even be turned into compost over time. Crochet seedling pots, like air pots, offer great drainage and the added bonus is that the air trapped between the stitches provides an insulation from hot and cold temperatures. This makes crochet seedling pots a perfect incubator that hep protect the seedlings root system before it can be transplanted. If you use a biodegradable yarn, then over time (after a couple of times of use) your seedling pots will naturally break down in your garden soil, where they will decompose by bacteria and other living organisms.
Jute is the way to go!
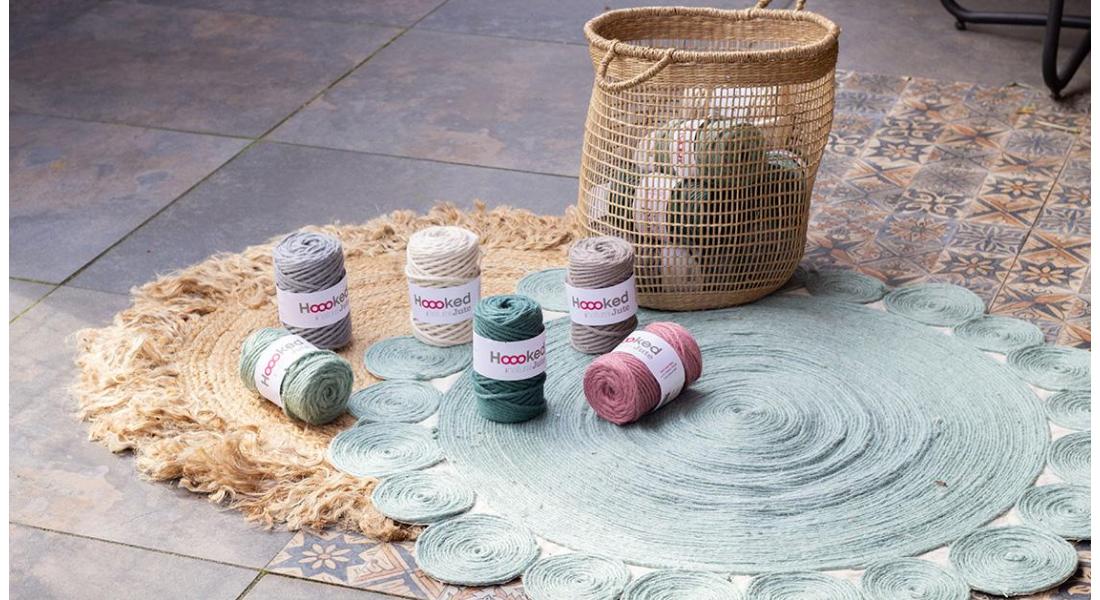
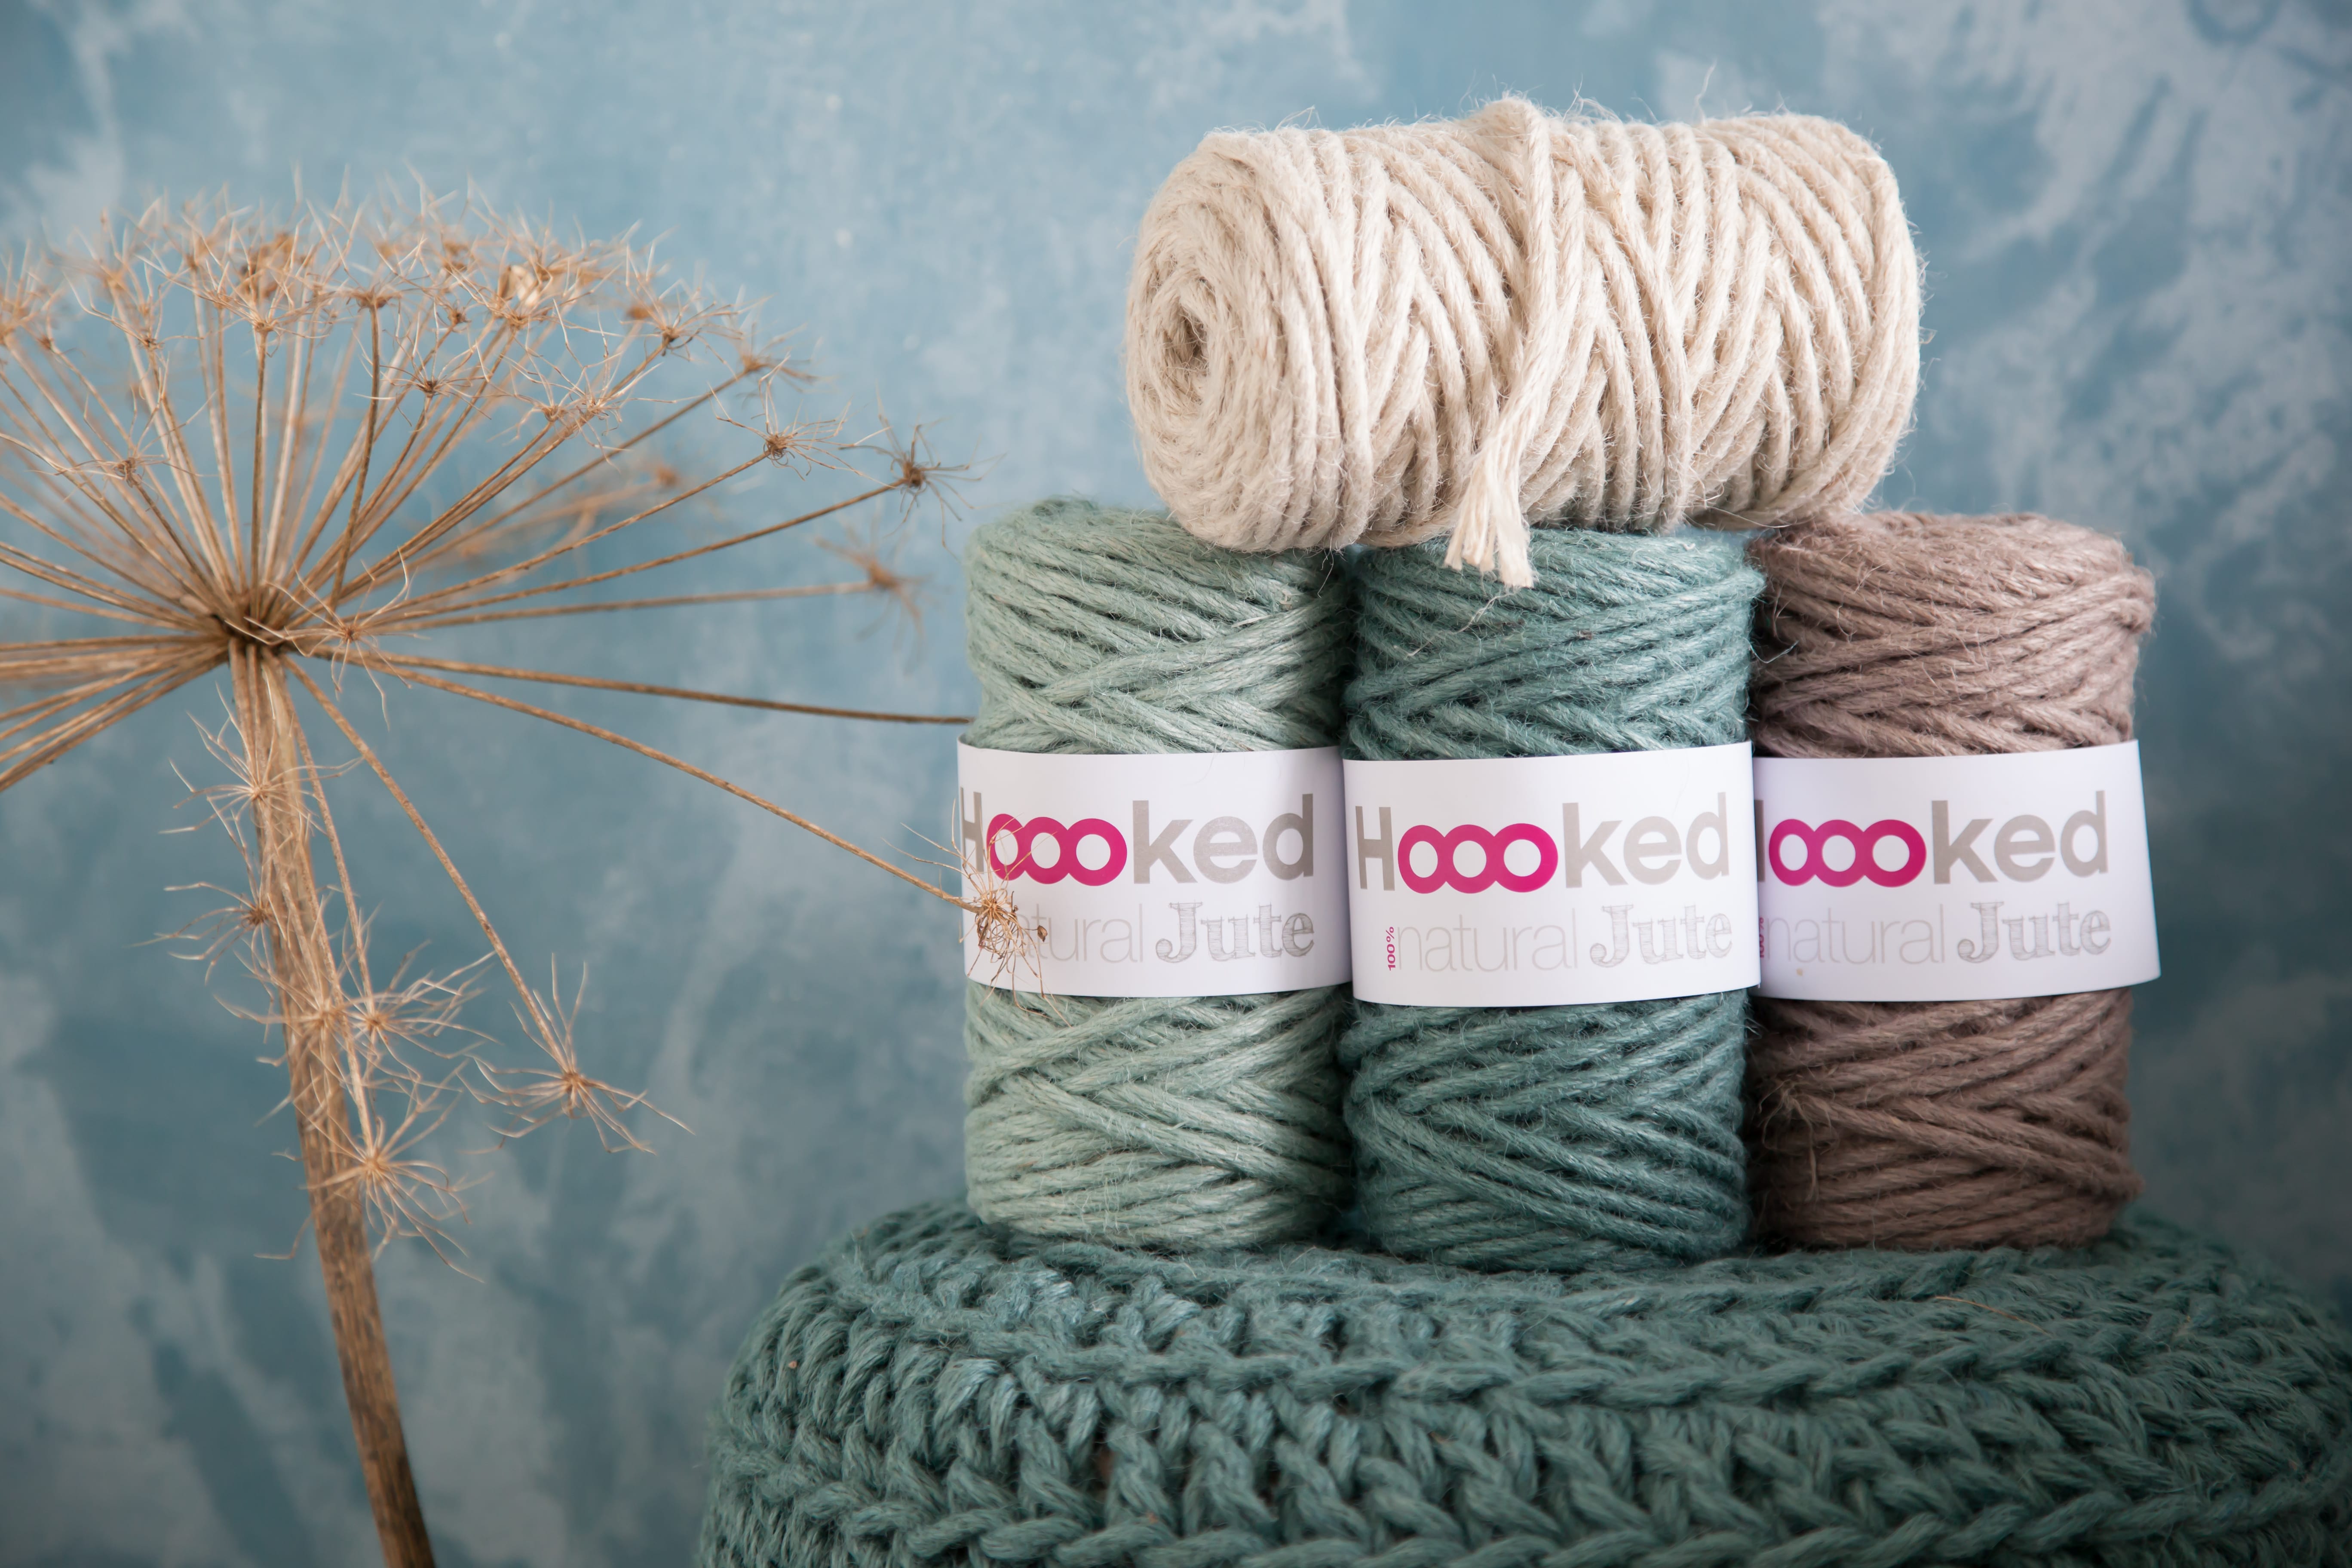
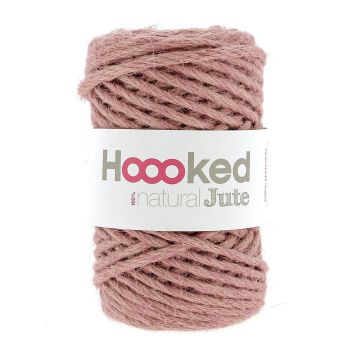
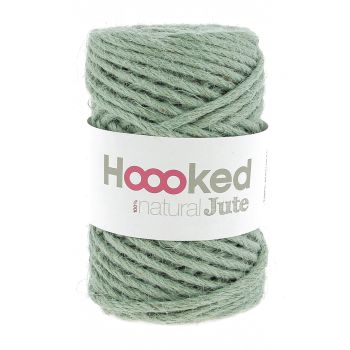
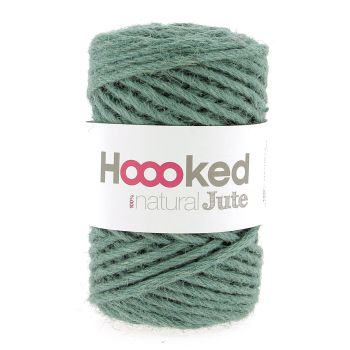
Hoooked 100% Natural Jute yarn from the Amazons is made without the use of fertilizer or pesticides by a BCS certified sustainable family-owned company in Brazil. Jute is a sturdy 100% vegetable fibre and offers a wide range of crafty possibilities for indoor and outdoor projects. Its natural properties ensure a fully biodegradable final product. This yarn great for outdoor use and therefore a perfect match for your seedlings! Below a free pattern for a crochet pot holder was designed by our crochet and knitting friend Emma Munn, the creative force behind EmmaKnitty.


Free crochet pattern seedling pots
This pattern can be used to crochet a plant hanger, decorative cover for your potholder, or seedling pot. These seedling pots can be made in both small and medium-size, making them the ideal eco-friendly place to grow your seedlings in. Featuring a useful hanger, you can even create an herb garden on your wall. Or why not gift a seedling, cactus or succulents for a unique present? What's more, with just one bobbin of Hoooked Natural Jute you can make two small pots and one large (or four small pots) so one bobbin goes a long way.
Design by: EmmaKnitty
Level: intermediate
Materials:
- 350g. (45 m) Hoooked Natural Jute (Emma used Serenity Mint)
- 10 – 12 mm crochet hook (N/15 – Q17)
- Scissors
- Darning needle
- Compost
- Seeds or seedlings
Stitches (UK terms):
- Magic ring (optional)
- Chain stitch (ch)
- Slip stitch (sl st)
- Half Treble (htr)
- Half treble crochet into the back loop only (htr-blo)
Before you begin
Please make sure you have the required abilities listed in the 'stitches' section in order to complete this pattern. Please read the notes section thoroughly before starting for some useful hints and tips.
Measurements:
Base x height
Small pot: 7,5 x 8 cm (3 x 3 inches)
Large pot: 13 x 8 cm (5 x 3 inches)
Notes
Jute yarn can be quite a solid, stiff yarn to work with initially, so working slowly may help you get used to its texture. Using a 10 mm hook helps give the pot stability and makes it solid enough to hold compost inside, but you can move up to 12 mm hook if it's feeling too tight. Bear in mind that this may make the gaps between stitches larger, so it's a good idea to make a test swatch if you choose a larger hook size.
Half treble through the back loop (htr-blo) only is a slight adaptation of the regular htr stitch. Instead of working under both loops, we work under the back loop, forming a braid that acts as a perfect way to form the base of a pot or basket.
In the illustration image, you can see where to insert into the back loop. However, this illustration is the double crochet stitch.
To work the htr stitch, yarn over once, insert your hook under the back loop of the “v” formation of the next stitch, yarn over again, and pull through all three loops on your hook.
When adding the compost, make sure that you compact it fully by pressing the compost firmly into the pot. This ensures that it stays inside firmly and does not leak through the small holes between the stitches.
Crochet pattern for the small seedling pot:
Ch 4 and sl st into the first ch st to join in the round (or make a magic ring).
R1: Ch 2 (this counts as the first st) and make 9 htr into the centre of the ring. Sl st in the top of the first ch 2 to join (10 sts).
R2: Ch 2, work one htr-blo into each st around. Sl to into the top of the first ch 2 to join (10 sts).
R3: Ch 2, work htr into every st around, sl st into top of first ch 2 to join (10 sts).
R4: Ch 2, work htr into every st around, sl st into top of first ch 2 to join (10 sts).
Now make the hanger (see below).
Crochet pattern for large seedling pot:
Ch 4 and sl st into the first ch st to join in the round (or make a magic ring).
R1: Ch 2 (this counts as the first st) and make 9h tr into the centre of the ring. Sl st in the top of the first ch 2 to join (10 sts).
R2: Ch 2, work one htr into this same st. Work 2 htr into every st around (20 sts).
R3: Ch 2, work one htr-blo into each st around. Sl to into the top of the first ch 2 to join (20 sts).
R4: Ch 2, work one htr into every st around, sl st into top of first ch 2 to join (20 sts).
R5: Ch 2, work one htr into every st around, sl st into top of first ch 2 to join (20 sts).
Now make the hanger (see below).
How to crochet the hanger:
From the beginning of the round, ch 9 and sl st into the same place you start from to secure. Break yarn and pull the yarn through, weave in all ends securely on the inside of the basket.
Fill your crochet seedling pot with compost, compacting it firmly into the pot to make sure it is solid and doesn't leak. You have now created the perfect and biodegradable nesting pot for your seeds and seedlings!